3D Modelling
What is a 3D Model?
A 3D model is a computer generated object which looks fairly realistic and has a depth of field which makes the person feel like they are looking at the object in front of them and not in a monitor.
Brief History of 3D Modelling
One of the first displays of computer animation was Futureworld (1976), which included an animation of a human face and a hand that had originally appeared in the 1972 experimental short A Computer Animated Hand, created by University of Utah students Edwin Catmull and Fred Parke.
Over time computer games have become increasingly more complex and the majority of games today include 3D assets from small props to entire 3D worlds. The sheer scale and complexity of newer game titles result in larger teams often working on extremely tight deadlines. The level of quality and realism is also increasing every year, making the lines between reality and games ever closer. Game companies are now turning towards high-polygon film quality 3D models and using the latest shader technologies for increased realism.
List of Models required for the Clowning Around Brief:
Weapons:
- Hammer
- Pie
- Firebreathers Stick and Fuel
- Balloon Sword/Animals
Car:
- Betsy
- Customers Cars/Methods of Travel
- Trailers
Characters:
- Giggles The Clown
- Non-Zombie Clowns
- Zombie Clowns
- Non-Zombie Customers
- Zombie Customers
- Ringmaster
- Animals
Buildings/Structures:
- Big Top (Non Damaged)
- Big Top (Meteorite fallen on it)
- Meteorite
- Dunk Tank
- Ferris Wheel
Clown Car
The Structure of Different Polygons
L.O: To be able to understand what Polygons are used for in 3D modelling
RAG - Green
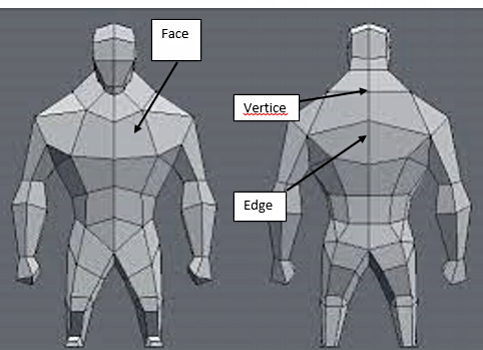
What is a Polygon?
A shape with the bare minimum of three straight sides and angles, but it's typically a five or more sided shape.
Vertices - Where 2 or more edges meet
Edge - the outside limit of an object, area, or surface.
Face - A face is an individual surface.
N-Gons- An N-gon is a shape with n sides, n acts as a substitute for a number, for example, A PENTAgon is a 5 sided shape
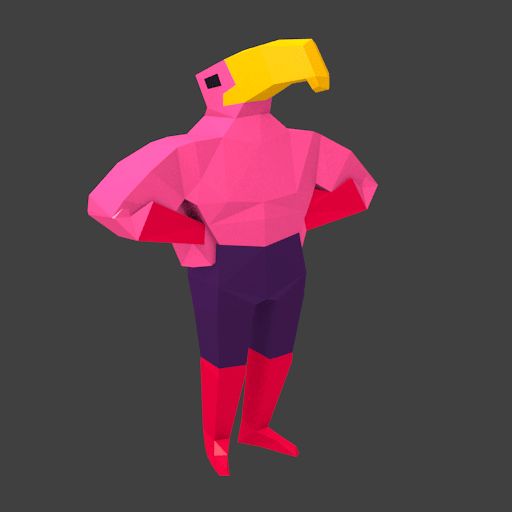
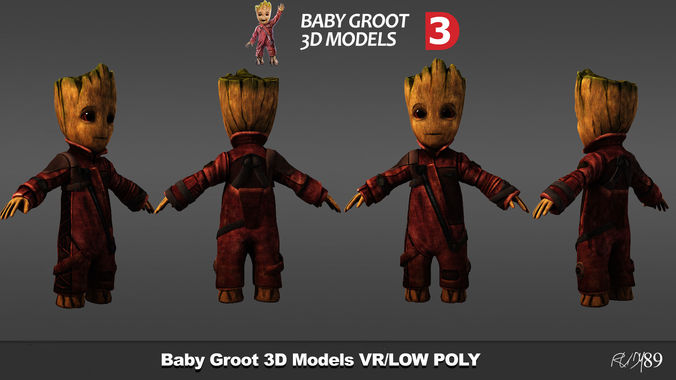
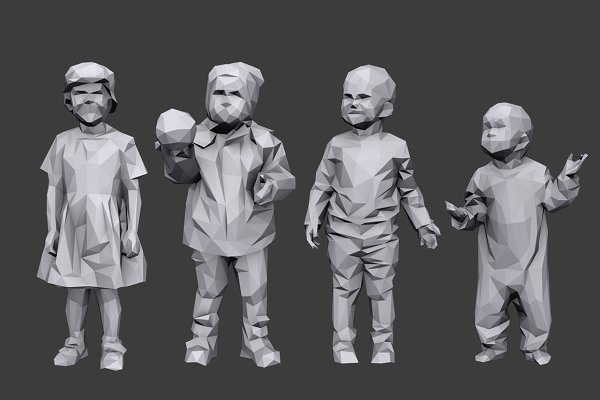
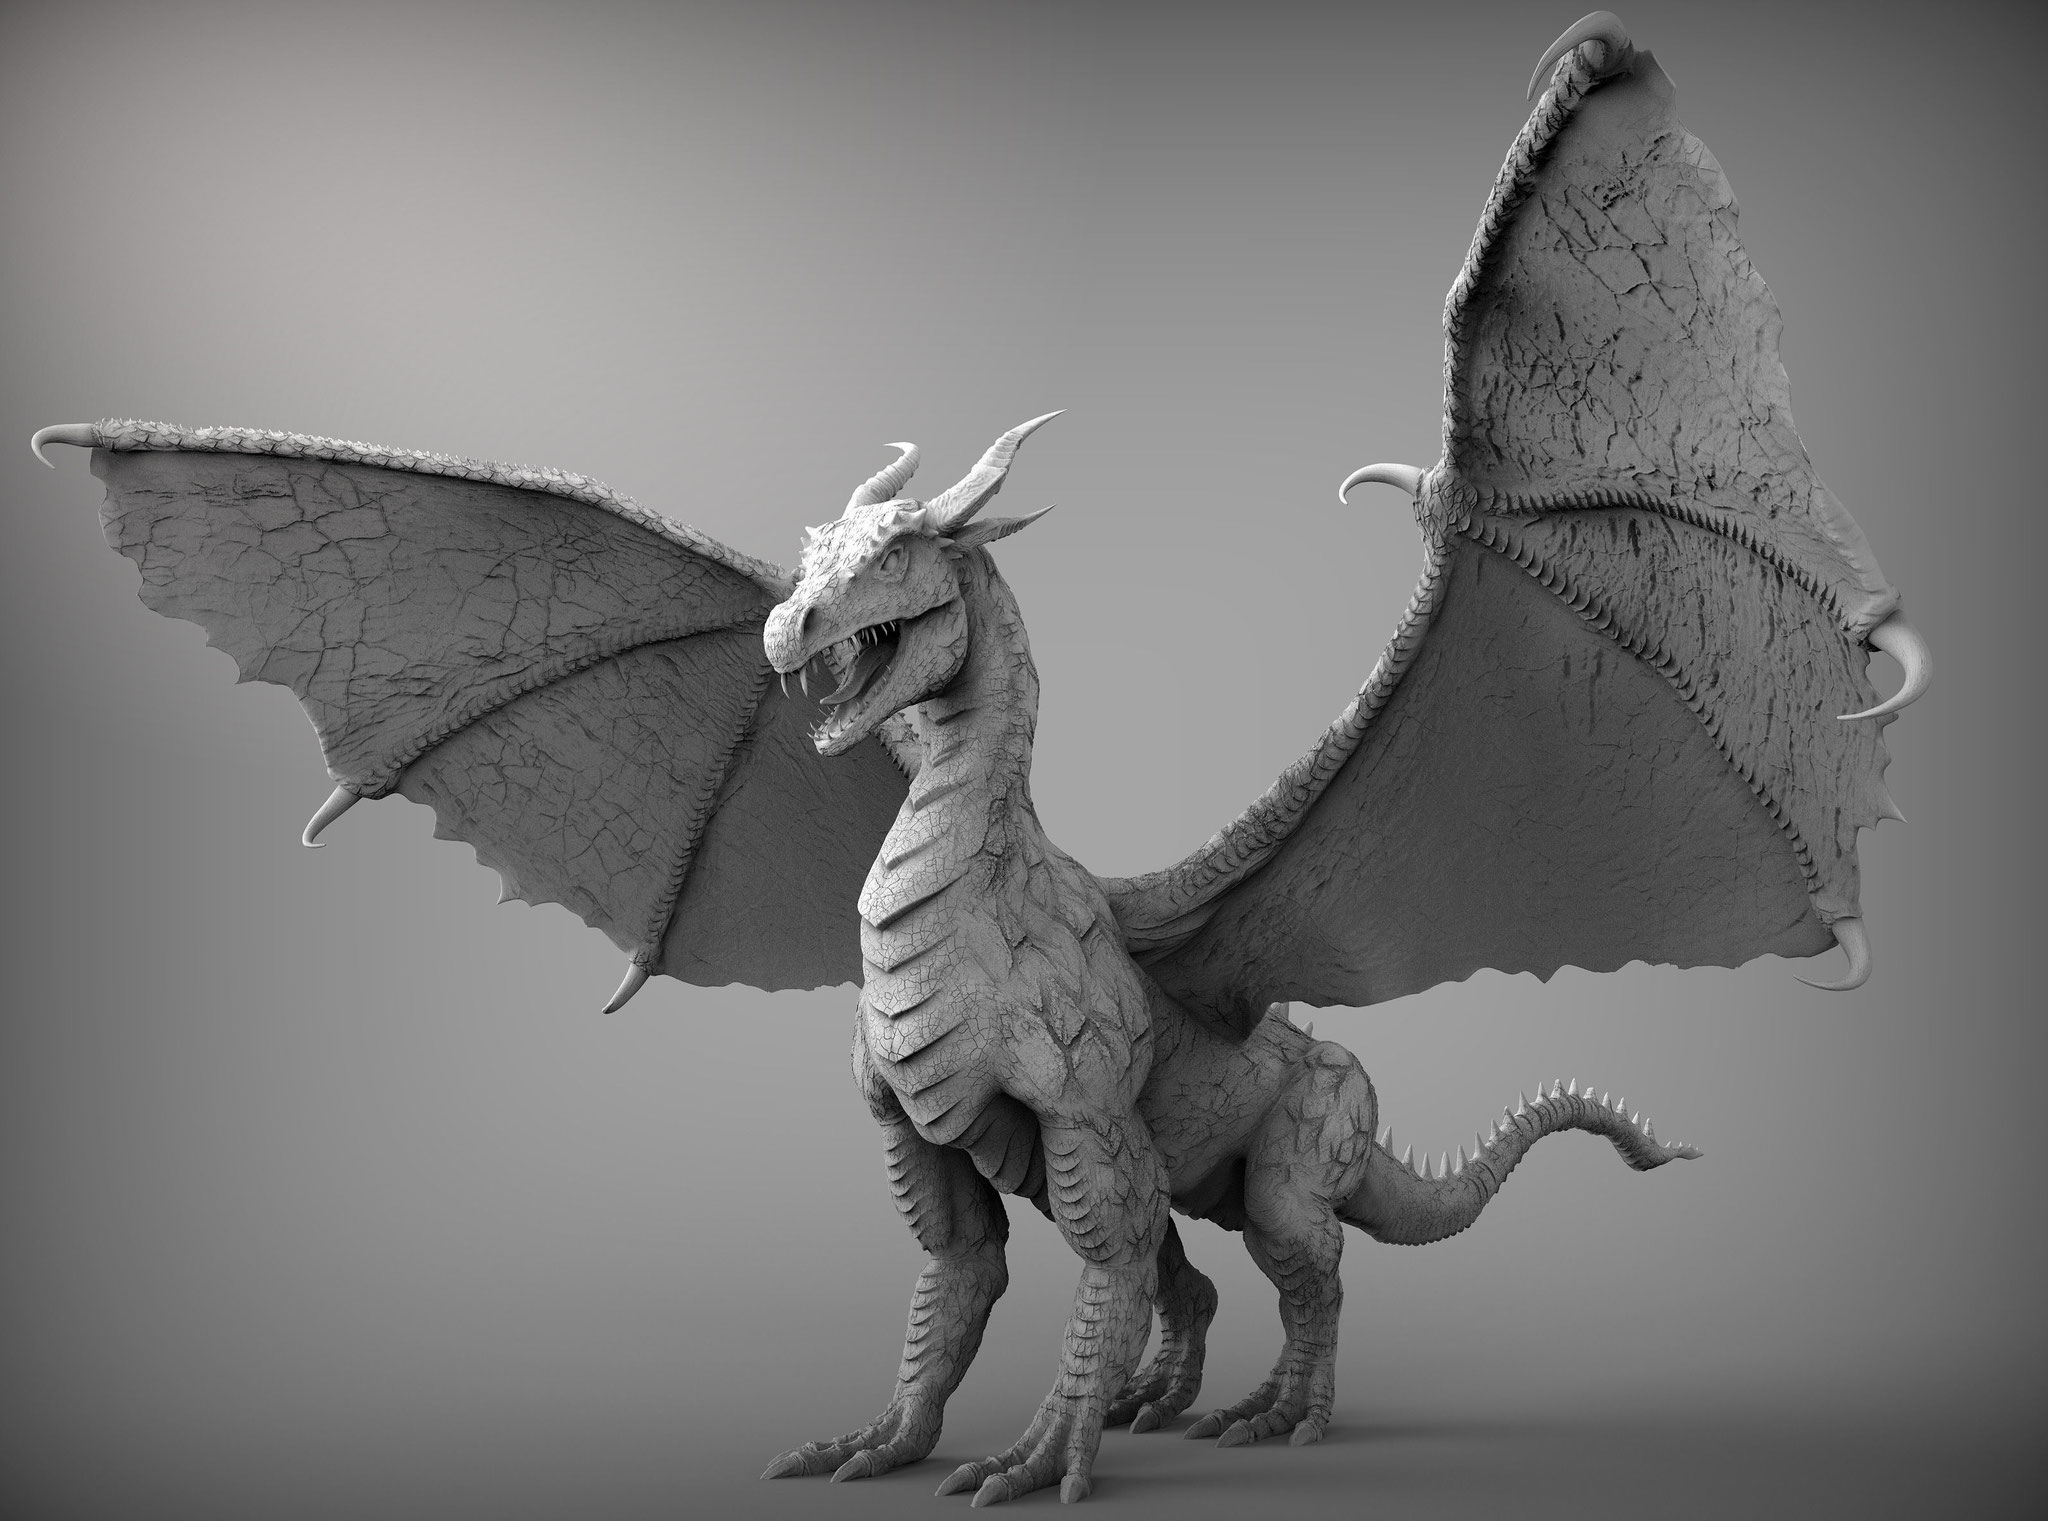
Low Poly
Medium Poly

High Poly
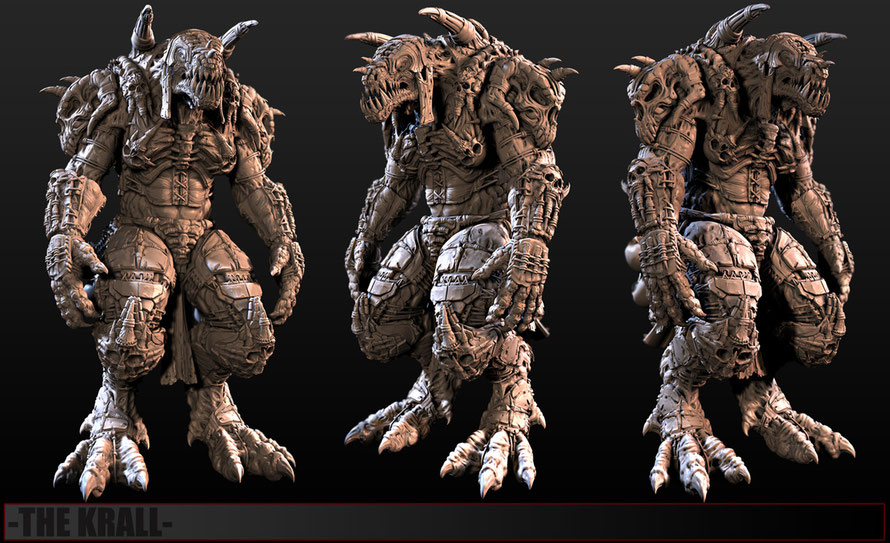
Hi-Poly means a high polygonal count on your 3D model, while Low Poly the opposite. Each has its value and time. High Poly gives you more details to play with but renders slowly, therefore it is used in Films where we have enough time to render. While low poly is needed in games for example to establish a high enough frame rate for real time rendering of the3D models. Of course we can generate hi-poly looking models by baking textures.
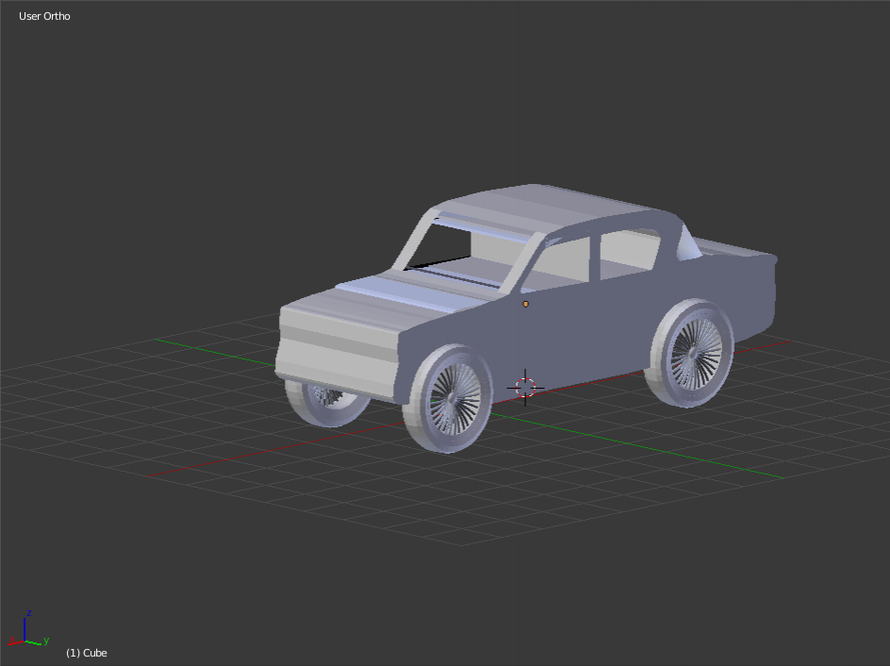
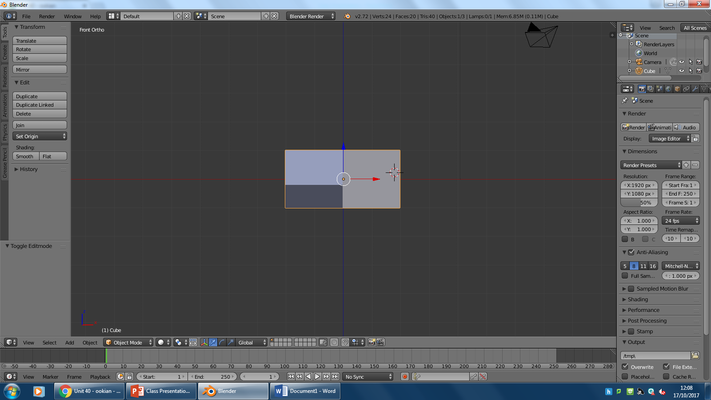
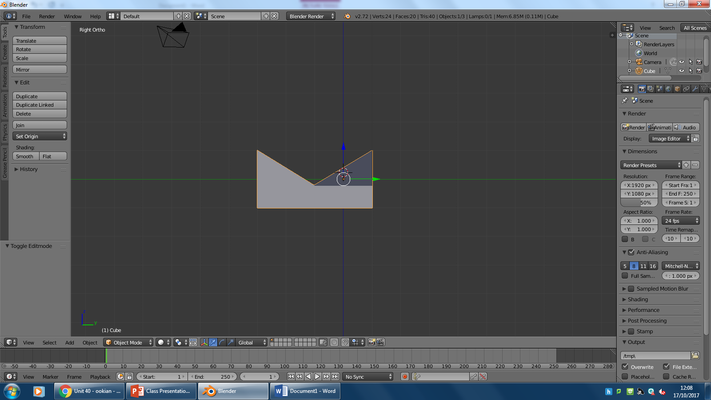
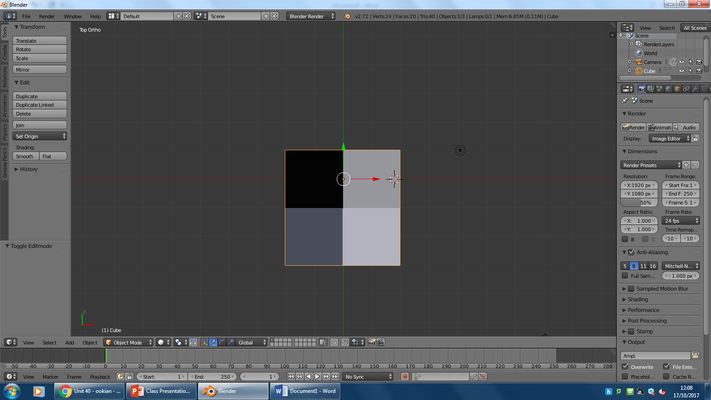
Orthographic Drawing
What is an Orthographic Drawing?
An orthographic drawing represents a three-dimensional object using several two-dimensional views of the object. It is also known as an orthographic projection. To get an Orthographic view in blender you press the 5 key on the numpad, and then you press 1 for a front view, 3 for a side view and 7 for a birds eye view.
L.O: To be able to understand what an orthographic drawing is - Green


Vertex Colour Information
L.O: To be able to understand what Vertex Colour Information Is
Vertex colour, or vcolour, is essentially just a colour with RGB and A channels stored for each vertex of a mesh. It’s a pretty standard, pretty old and classic 3D feature.
Originally, the main use of vertex colour was to allow colour variations on large 3D surfaces with a single or limited number of textures. On the Older Consoles (Xbox, PS1, PS2, SEGA Genesis, SNES, Etc.) your typical video card couldn’t pile up to 8 or even 4 textures on the same triangle.
With a dense mesh, you can have vertex colour fitting closely to small details but with large polygons you may end up with only gradients which may betray the triangular nature of your 3D scene. When a vertex is painted, the colour of the vertex is modified according to the rules of the ‘brush’. The colour of all visible planes and edges attached to the vertex are then modified with a gradient to the colour of the other connected vertices. In Blender, Vertex colours can be painted by first going into Edit Mode, then switching to Vertex Paint Mode; however, it will not show up in the render unless you check “Vertex Color Paint” in the Materials Options Panel.
A good example of Vertex Colour, is in Halo: Combat Evolved.

Collision Hulls
L.O: To be able to understand what the creation and use of convex collision hulls.
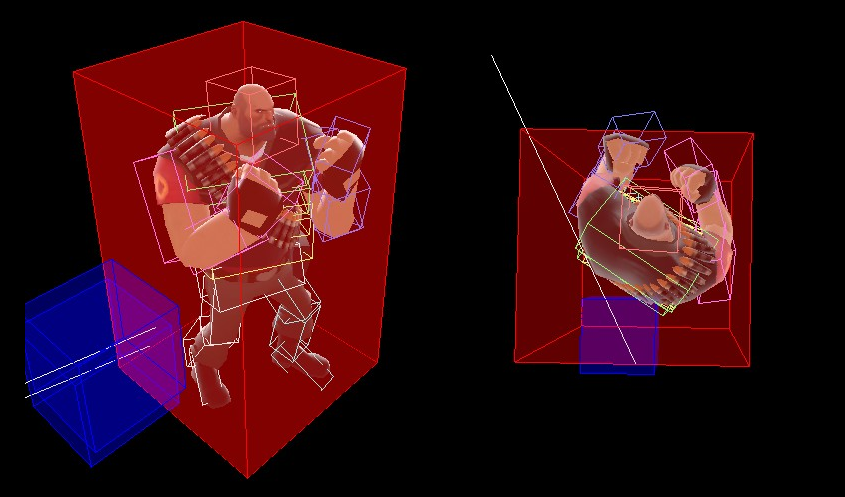
What is a Collision Hull?
A Collision Hull, also known as hitbox or collision model, is an invisible 3D model placed around an object in a video game. This model is used for collision detection and is sometimes referred to as a collision geometry file.
Collision hulls must be convex, and if it is a complex model and cannot be covered by a single hull then multiple convexs/hulls must be used.
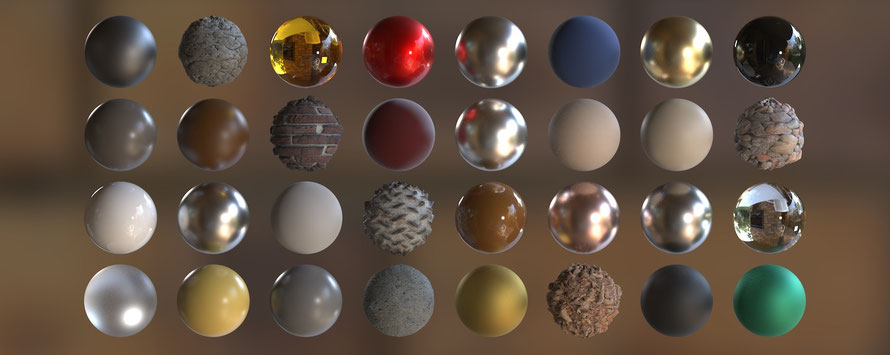
Materials in 3D Models
What is a material?
Materials are not much more than containers for shaders and textures that can be applied to models. Most of the customization of materials depends on which shader is chosen for it, although all shaders have some common functionality.
What is a shader?
If the texture of a model determines what is drawn on its surface, the shader is what determines how it is drawn. Here’s another way to look at this: A material contains properties and textures, and shaders dictate what properties and textures a material can have. This might seem nonsensical right now, but later when we create materials you will begin to understand how they work. Much of the information about shaders is covered later this hour, because you cannot create a shader without a material. In fact, much of the information to be learned about materials is actually about the material’s shader.
What is a texture?
Textures are flat images that get applied to 3D objects. They are responsible for models being colorful and interesting instead of blank and boring. It can be strange to think that a 2D image can be applied to a 3D model, but it is a fairly straightforward process once you are familiar with it. Think about a soup can for a moment. If you were to take the label off of the can, you would see that it is a flat piece of paper. That label is like a texture. After the label was printed, it was then wrapped around the 3D can to provide a more pleasing look.
3D Coordinate system
L.O. To be able to know and explain what the different types of 3D coordinate system mean in Games Development.
What is a 3D coordinate system?
A 3D coordinate system is used to place certain items in certain locations such as special items, enemy fortresses etc.
3 different types of coordinate system:
Cartesian: A point P is referred to by three real numbers (coordinates), indicating the positions of the perpendicular projections from the point to three fixed, perpendicular, graduated lines, called the axes which intersect at the origin.
Cylindrical: To define a cylindrical coordinate system, we take an axis (usually called the z-axis) and a perpendicular plane, on which we choose a ray (the initial ray) originating at the intersection of the plane and the axis (the origin).
Spherical: To define spherical coordinates, we take an axis (the polar axis) and a perpendicular plane (the equatorial plane), on which we choose a ray (the initial ray) originating at the intersection of the plane and the axis (the origin O). The coordinates of a point P are the distance r from P to the origin.
Different Methods of creating models
L.O: To be able to understand the different methods of creating methods are
What is a 3D modelling?
3D modeling is the process of developing a mathematical representation of any surface of an object (either inanimate or living) in three dimensions via specialized software.
5 Examples of 3D models


3D Models can be solid and it can also be just a shell of an object. Solid is when an object is dense and is often used to represent rocks, walls, characters. Shell is when an object is empty on the inside, whether it be an egg shell or a cup/bucket, etc.
Digital modelling is used for buildings, engineering and games development. This involves computer aided design to create colossal objects which may act as concepts for future objects. 4 different types of model, surface, mesh, solid and wireframe.
UV Mapping
L.O: To be able to understand what UV mapping and texturing is and what purpose they serve.
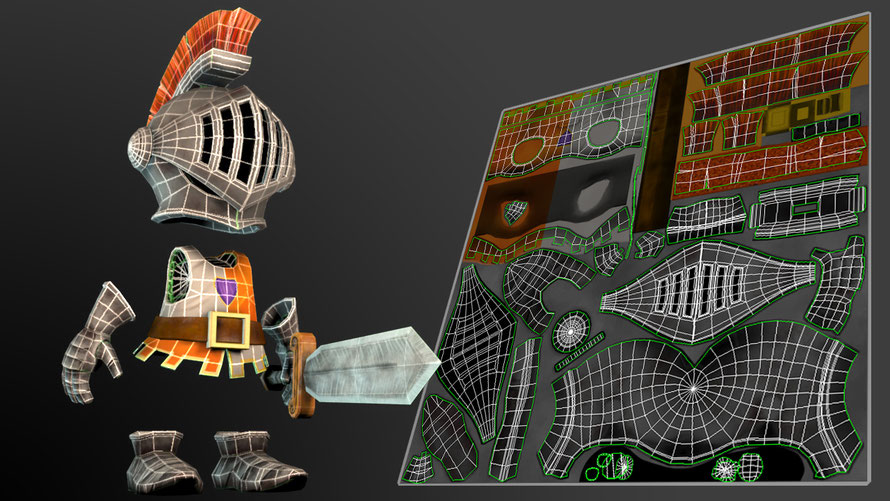
What is UV Mapping?
UV Mapping is the layout of a 3D model with its textures and materials on each of its faces.
Planar Mapping: this is when an image is dragged and dropped onto a 3D polygon mesh before it is unwrapped.
3 Steps of UV mapping:
1. Unwrapping the 3D mesh
2. Creating a texture
3. Applying the texture to the mesh
Case Study of 3D Modellers
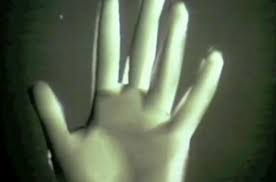

Edwin Catmull was one of the first 3D modellers out there. He was a computer scientist born in 1945 and wanted to become an animator for Disney in his early years and during his time in high school, he realized that he wasn't the best at drawing so he turned his attention to computers. After high school he attended the University of Utah and received bachelor degrees in physics and computer science. After a short stint at Boeing he came back to the University to get his doctoral degree. His focus was computer graphics and three-dimensional curves. During this time he came up with a number of contributions to the field. These included the study of bicubic patches and the development of the z-buffer, a way for a computer to track the depth of a three dimensional object. He used these technologies to create a short film: "A Computer Animated Hand," (left image) which came as a breakthrough to computer animation.
After Catmull created the computer animated hand, he formed his own computer graphics company which was used by George Lucas of Lucasfilms to bring computer graphics into the entertainment industry. Catmull worked on Star Wars and created many of the ships within the films.
3D Models from Games
For Honor


For Honor is an action fighting game set during a medieval period inspired fantasy setting. Players can play as a character from three different factions, namely The Iron Legion Knights, The Chosen Samurai, and The Warborn Vikings. From the images above you can see that the game has stayed true to the era that the game was set, this is effective because it immerses the player into the game more and make them think they are on the front lines along with their character.
The characters can be seen with dirt covering their armor and clothing which suggests they have been in many battles and returned from the battles either victorious or fled out of terror. This dirt/wear on the armor shows that the characters have had experience in previous battles and have been deemed the heroes of their own faction, this shows that they are battle hardy and well respected. However, some of the models within the game don't always work, there is a character within For Honor named the Conqueror and is often causing major bugs with its body catapulting off after you kill someone or their body becomes extremely stretched out.
Titanfall
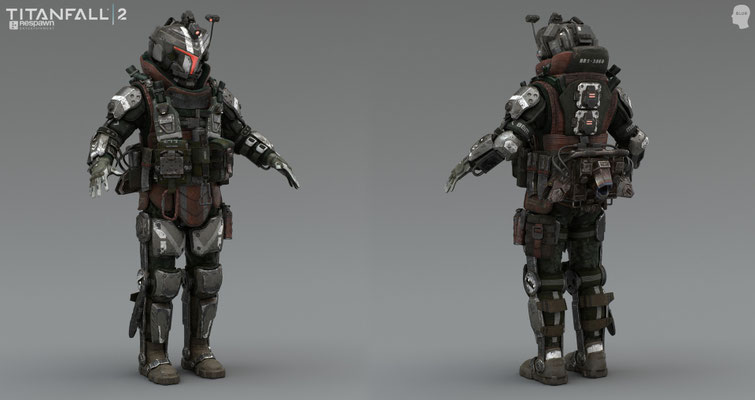

In Titanfall, players control "pilots" and their mech-style Titans, and fight in six-on-six matches set in war-torn outer space colonies. The game is optimized for fast-paced, continual action, aided by wall-running abilities and populations of computer-controlled soldiers. The game is set on derelict and war-torn colonies at the Frontier fringe of space exploration as either the Interstellar Manufacturing Corporation (IMC) or the Frontier Militia. The 3D models for the game are effective because on the left you have the more technically advanced team, the IMC with highly protective armour and special gear on their suits, whereas the character on the right is part of Militia who are always on the run from the IMC which means they have less technology than the IMC but in the gameplay this doesn't always show. The colors on the left model are quite foreboding, the most prominent colour is red which suggests a hostile attitude and dangerous person.
Development Log
Hammer/Mallet
Concepts:
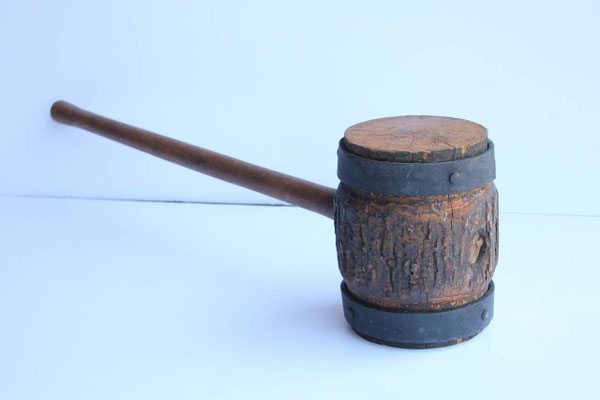
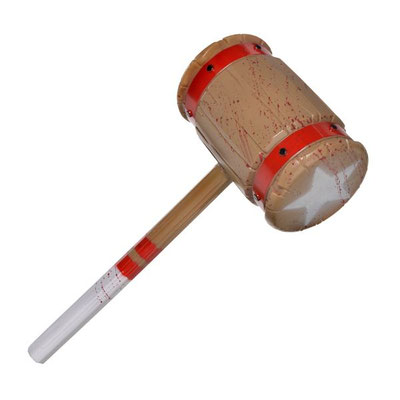


From the concept ideas, I like the idea of the completely wooden strongman's hammer instead of the modern ones which have rubber tips. I also like the blood splatter on the second hammer because it gives the idea of previous usage to hit enemies in the game, like someone was using it to battle for their life. Throughout the development process, I have stayed true to my ideas of how I would like the strongman's hammer to look with the wooden like texturing/colours. However, I have not added the blood on to the hammer as I could not find an effective method to add this and for it to stay on the hammer. I am displeased with my model in some areas though, I find the model lacking depth or enough detail to convince the user that they are in the game, fighting for their life. Improvements that could be added would be, a proper wooden texture or a UV map which will have blood stains covering the hammer.
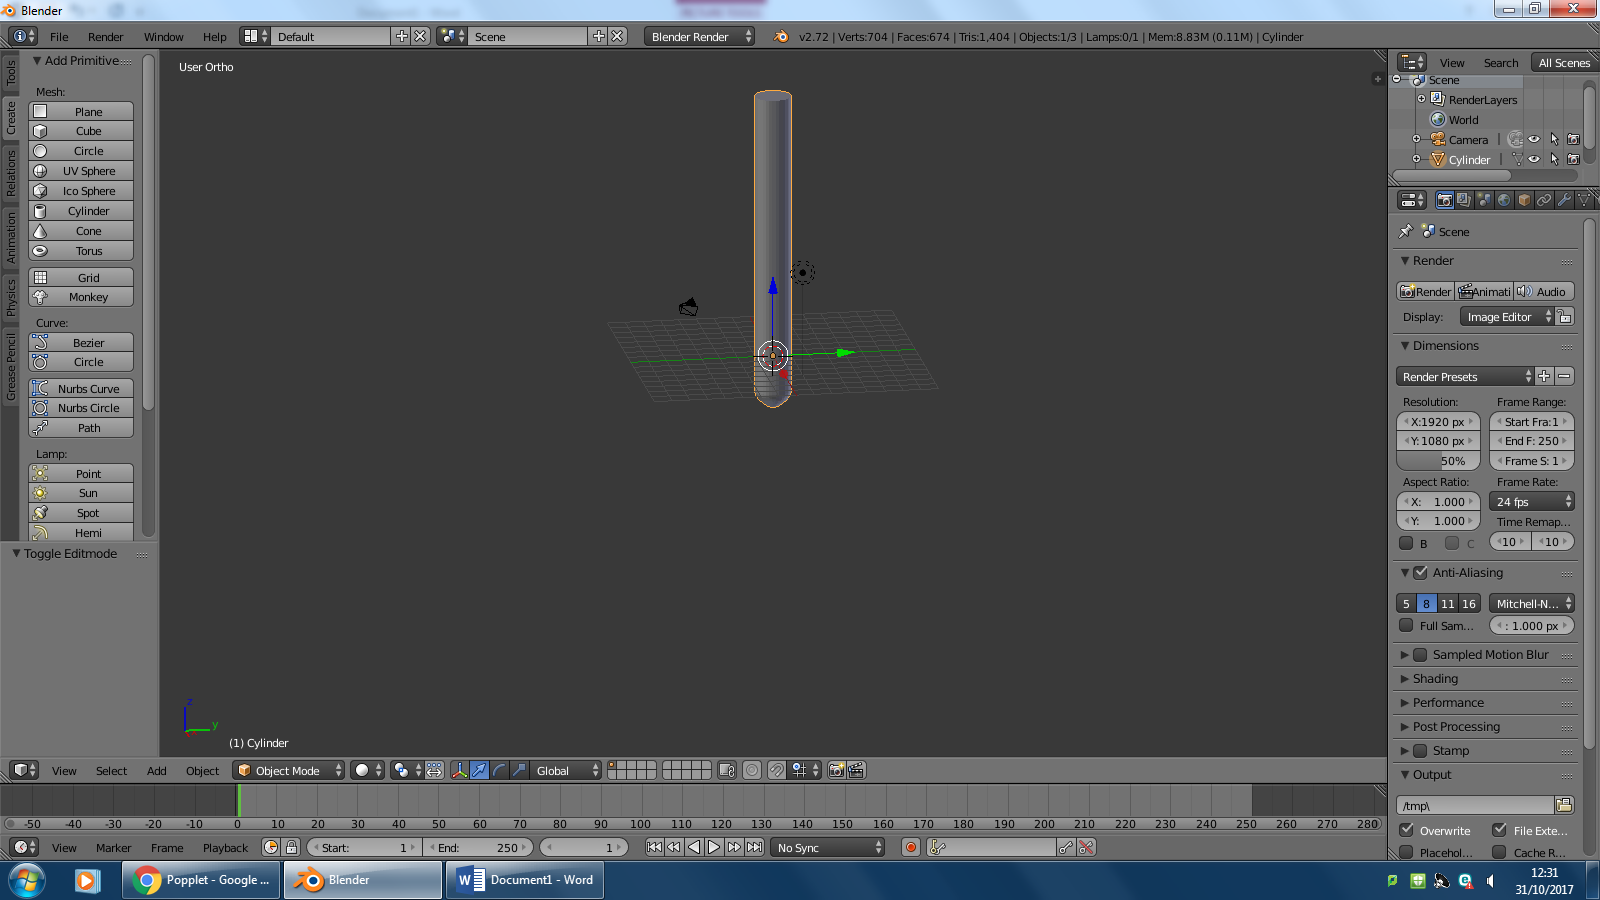
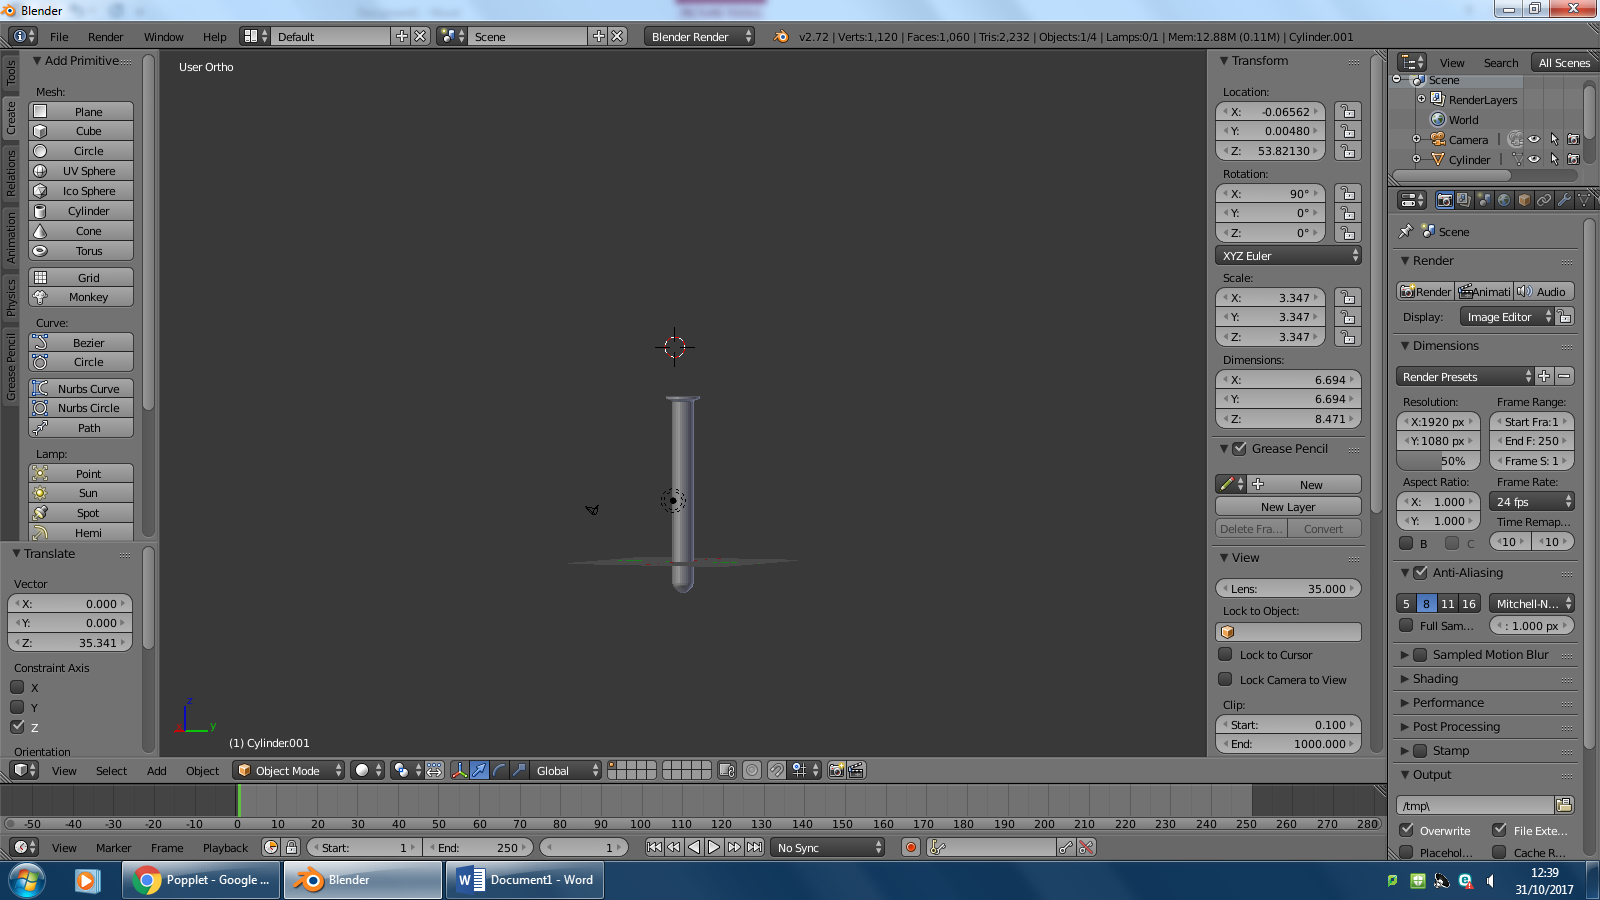
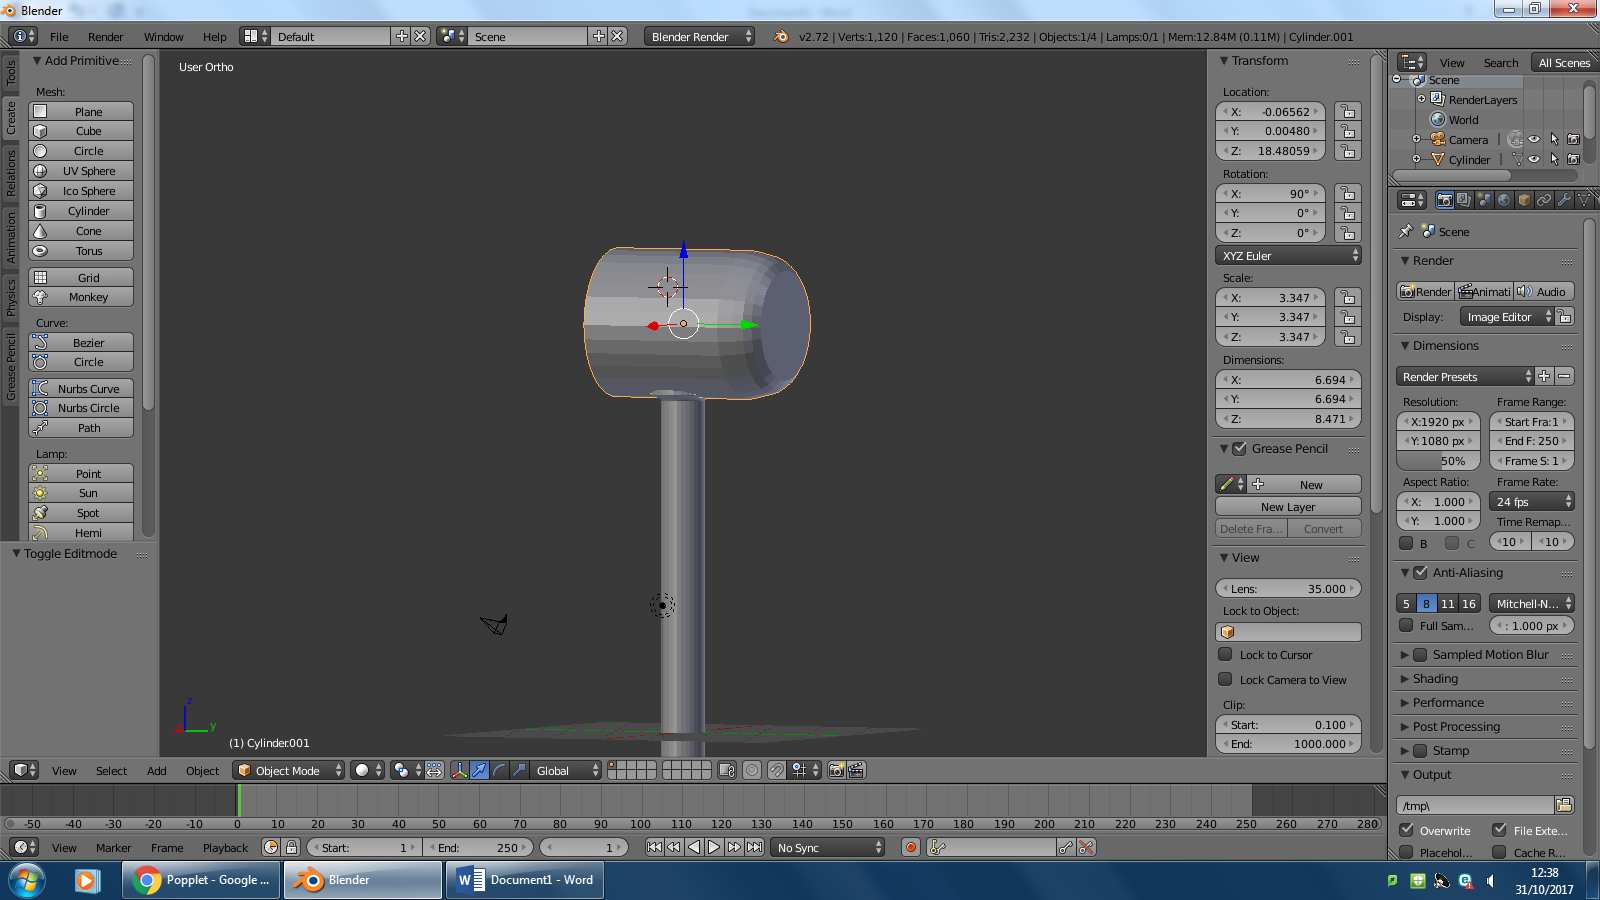
Firebreathers Stick
Concepts:
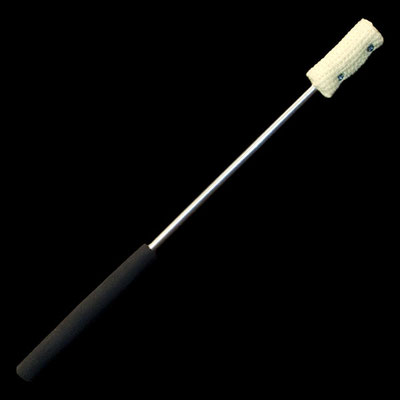
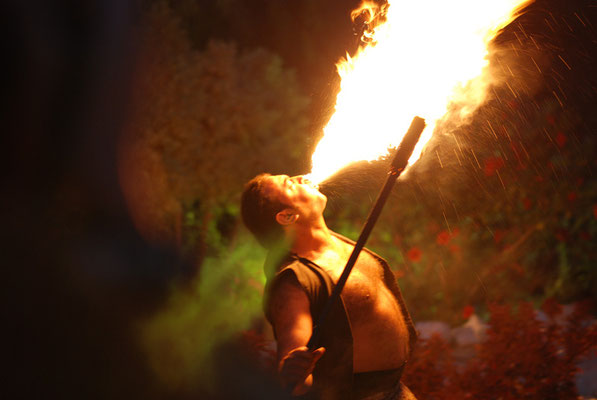
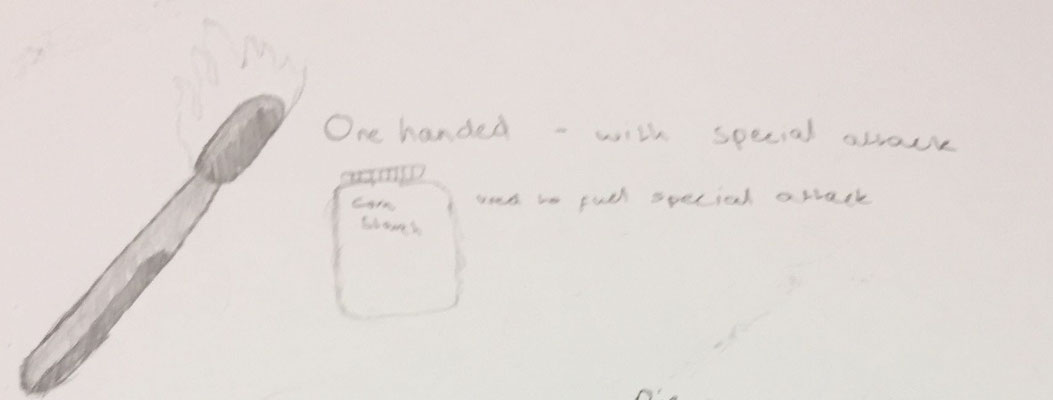

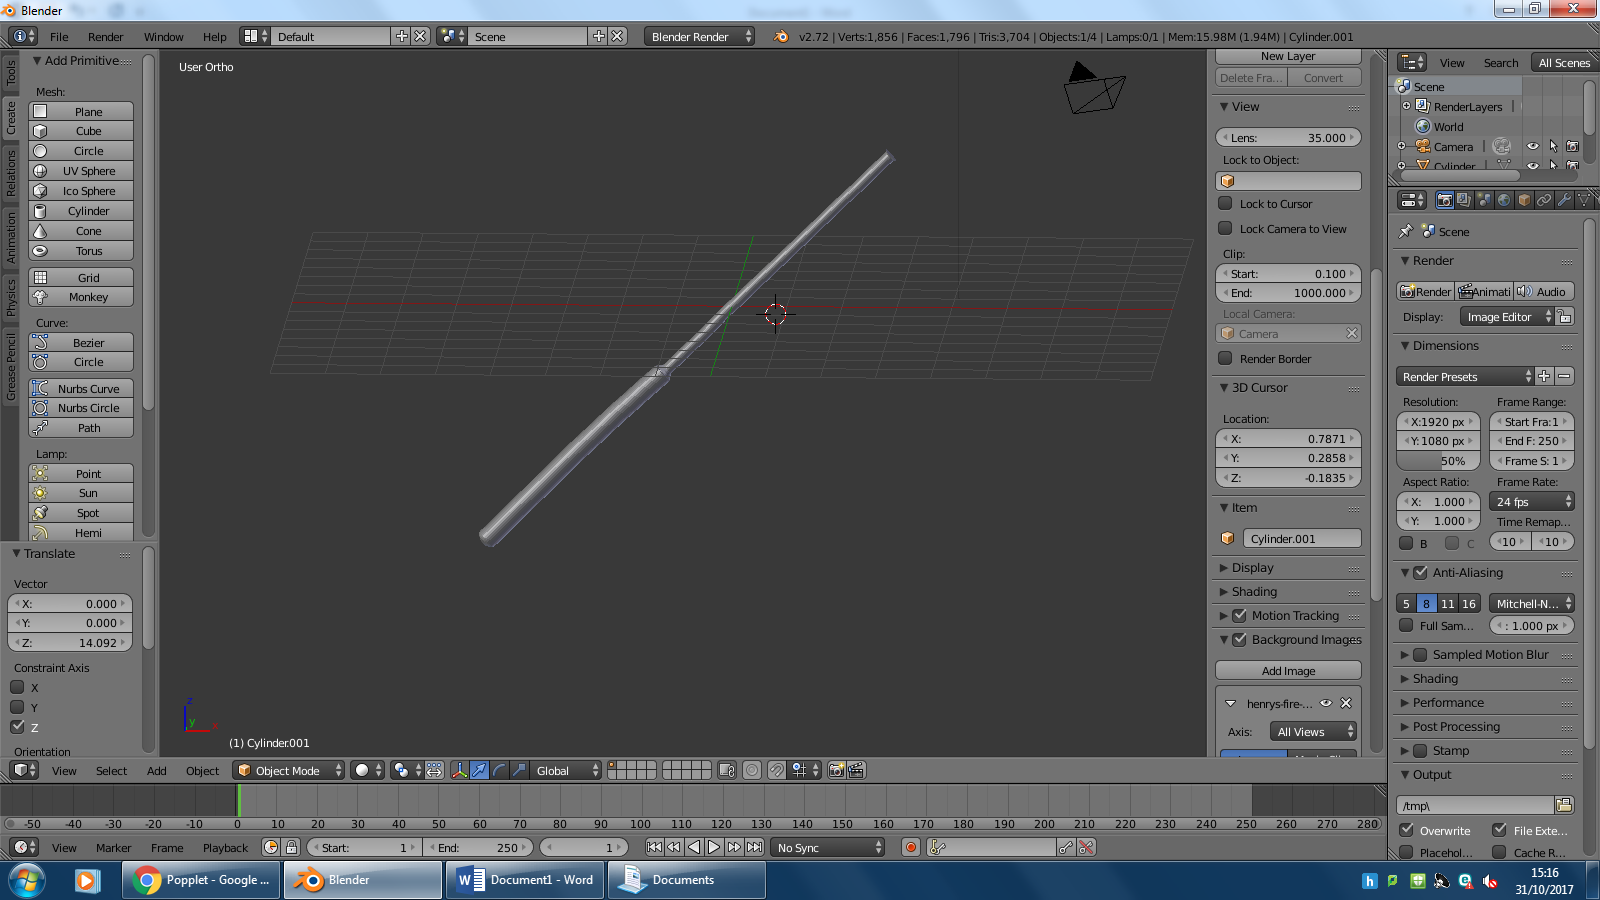

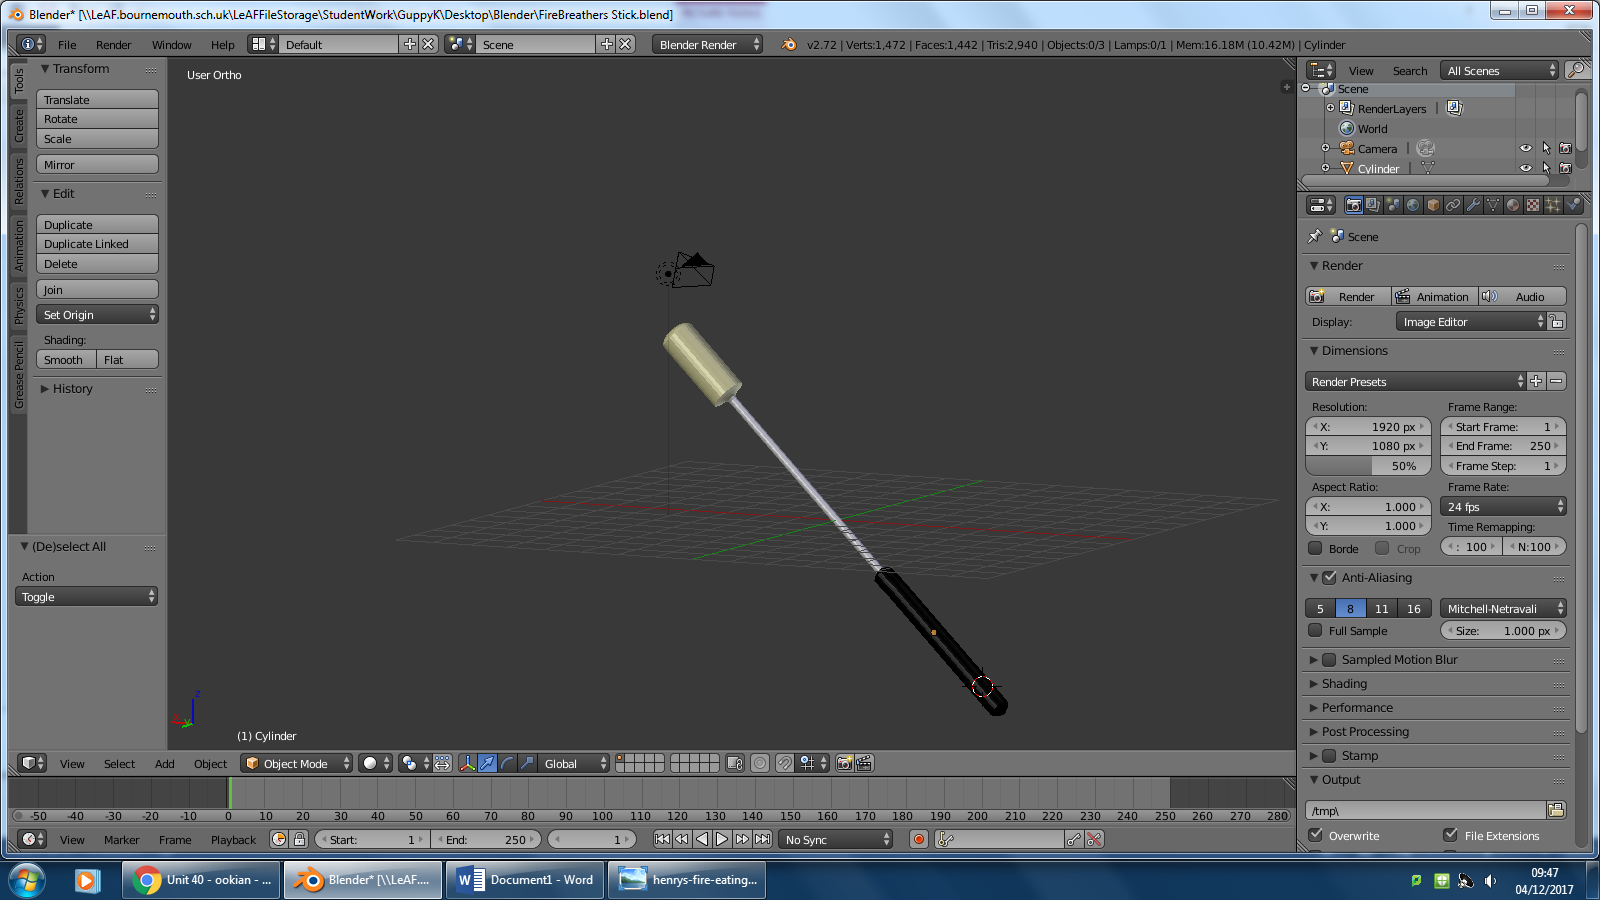


As you can see from the concept ideas and concept art I have taken inspiration from firebreathers/fire eaters and their unique talents. From the concepts I have been able to construct a model which is fairly accurate to the era of the game, It is quite basic as there aren't many components but I have included a safe handle, the metal rod which holds everything together and the cloth on the end which acts as a torch of sorts. I am fairly happy with the outcome of this model because I believed it would be alot harder to make than it actually was, simple extrusions and scalings were needed to make this model come to life. However, I am unhappy with the texturing of the model, although it has colours that match the concepts, It does not have a cross hatched cloth on the end, or a proper metal texture which reflects light. These are improvements that can be made to the model and when more experienced with Blender I can fix these and possibly make the model better.
Pie
Concepts:

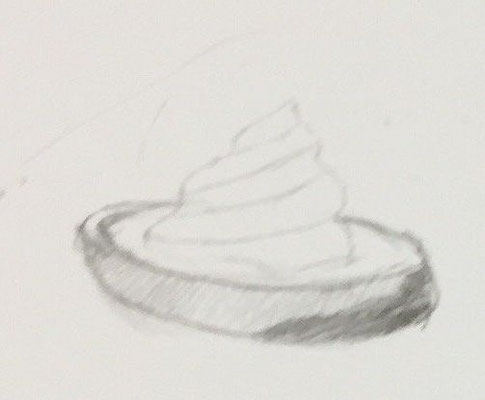


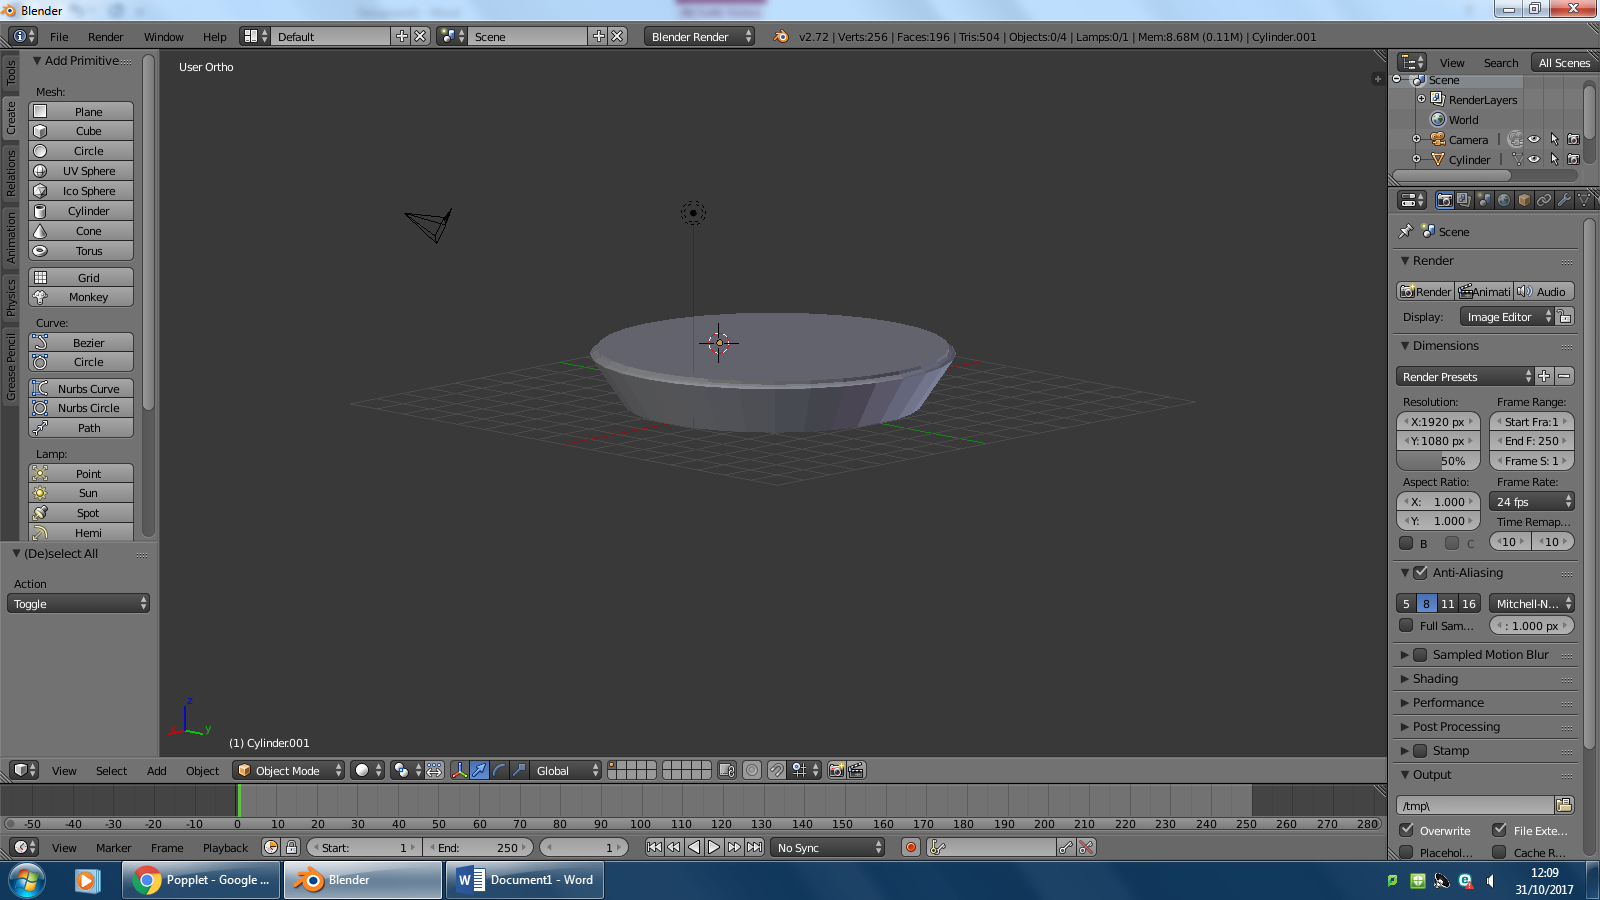
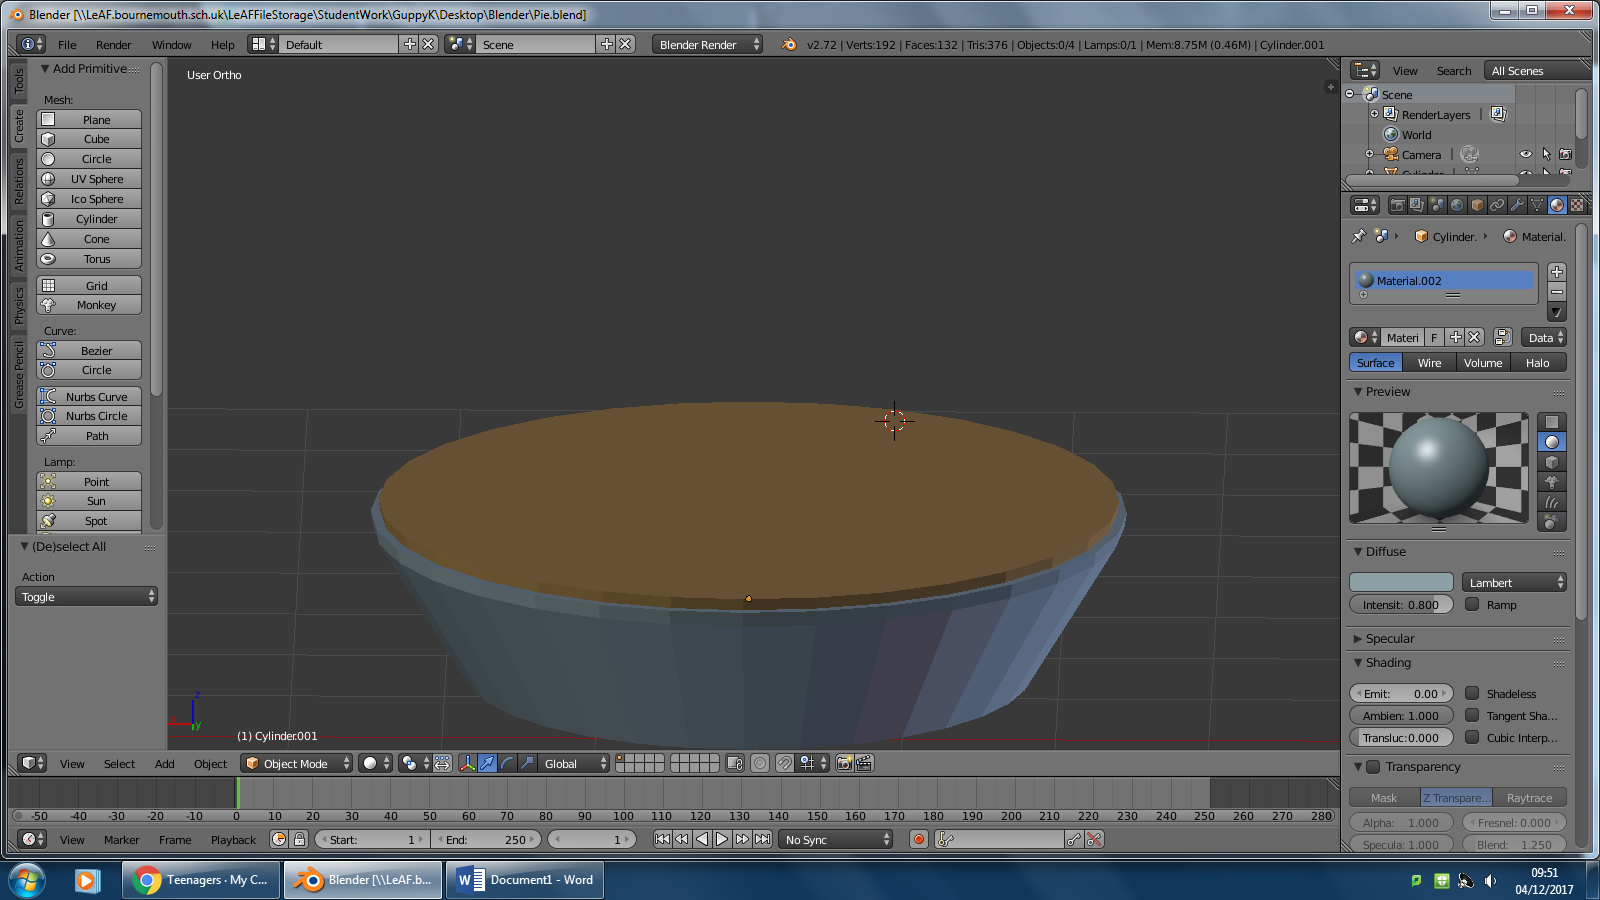


As you can see, I have taken inspiration from the classic clown gag, the Cream Pie, where they would splat a cream filled pie in someone's face, in Clowning Around, I would like to give it the ability to deal damage to the first enemy/unit hit and then do a cone of effect, and the secondary effect of this is that any enemy affected by the Pie will be blinded for up to 10 seconds. Throughout the design process, I have stayed true to the concept art/ideas, however I could not find a way to add the cream layer onto the pie so I have thought that the cream is inside the pie instead of on the exterior. I am fairly satisfied with the final product because it is extremely similar to the concept ideas and the colours have came out well. However, I do not like that the dish for the pie is not a shiny metal material and that will be an improvement I will have to make.
Clown
Concepts:
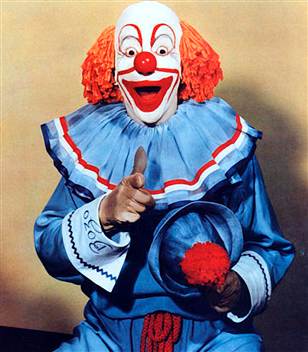
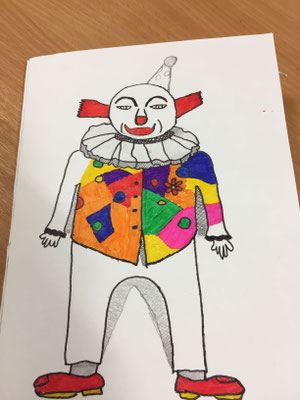
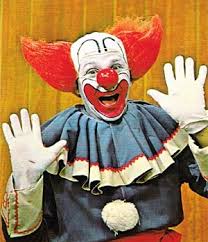

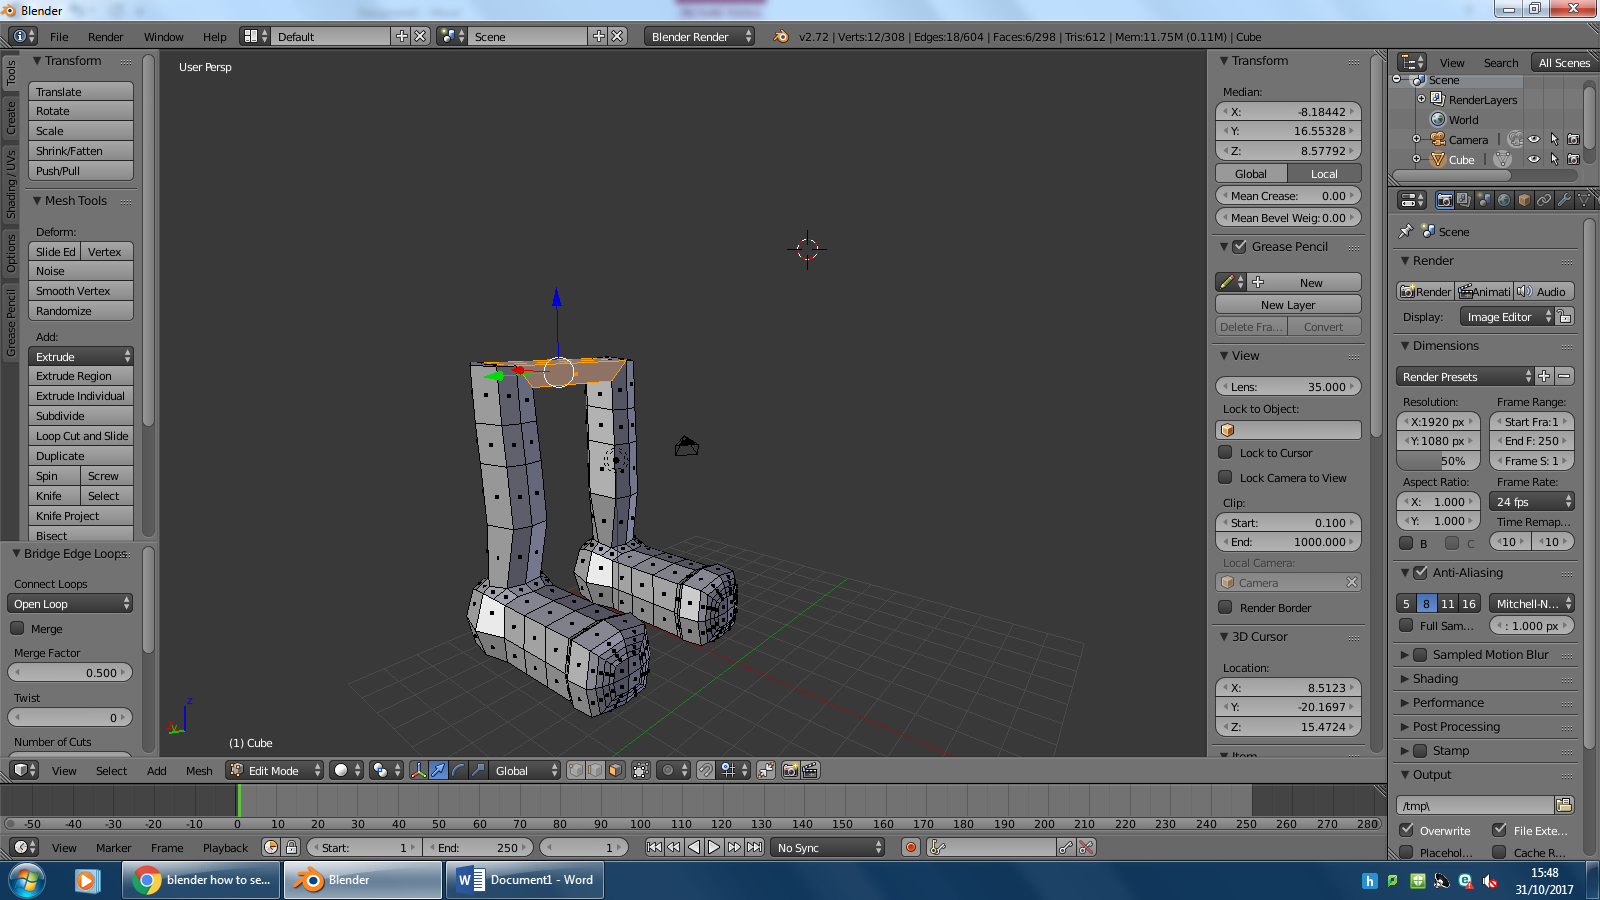


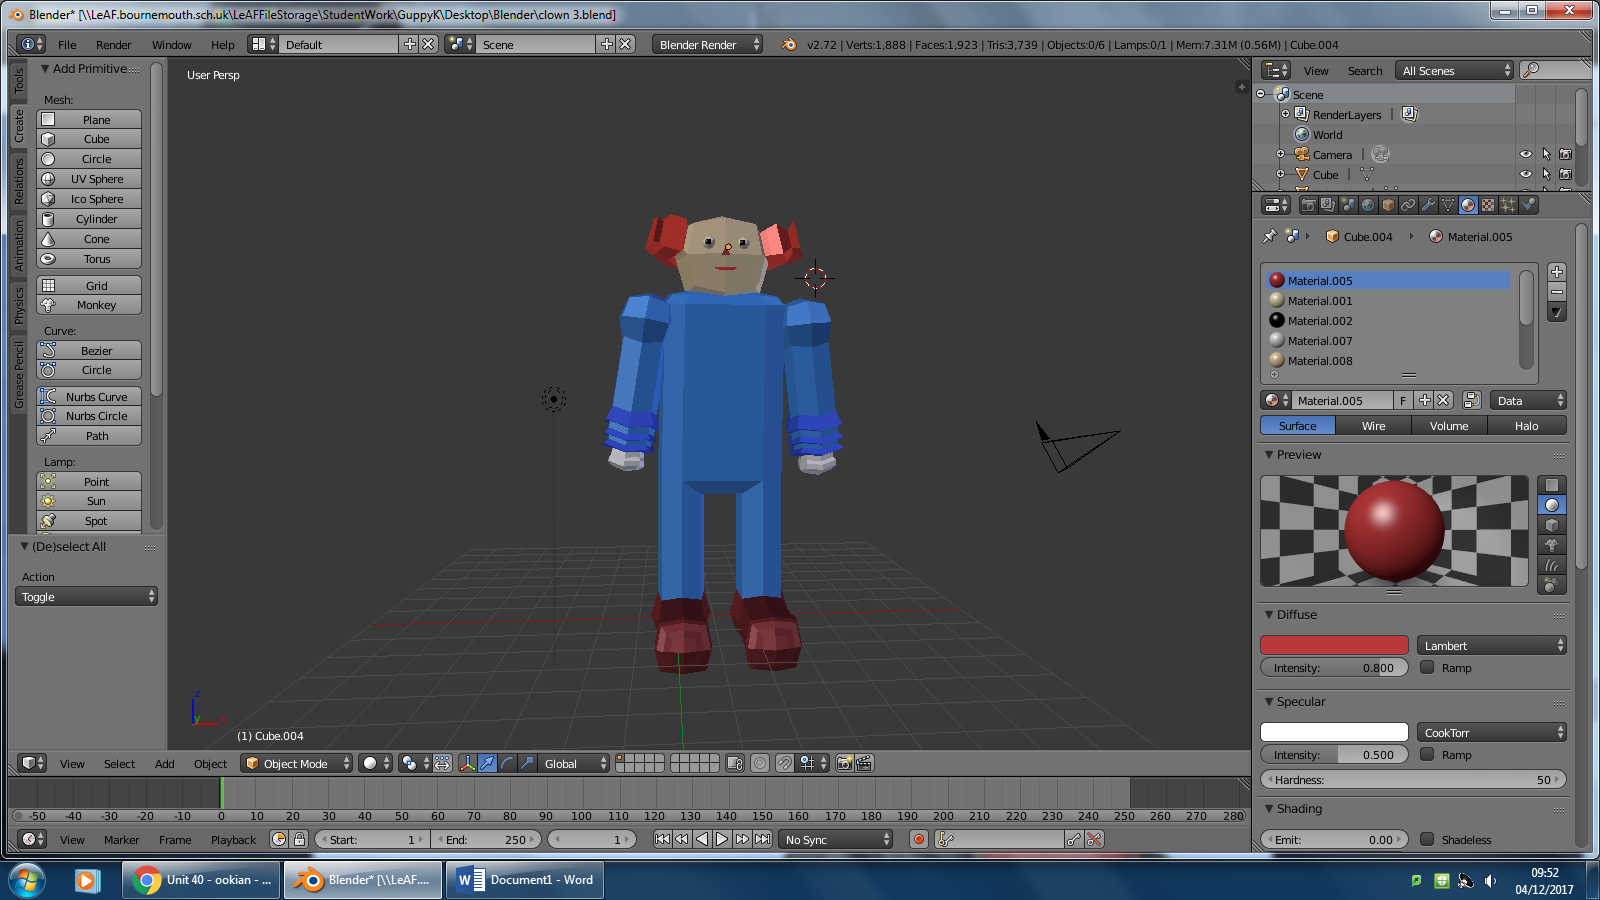
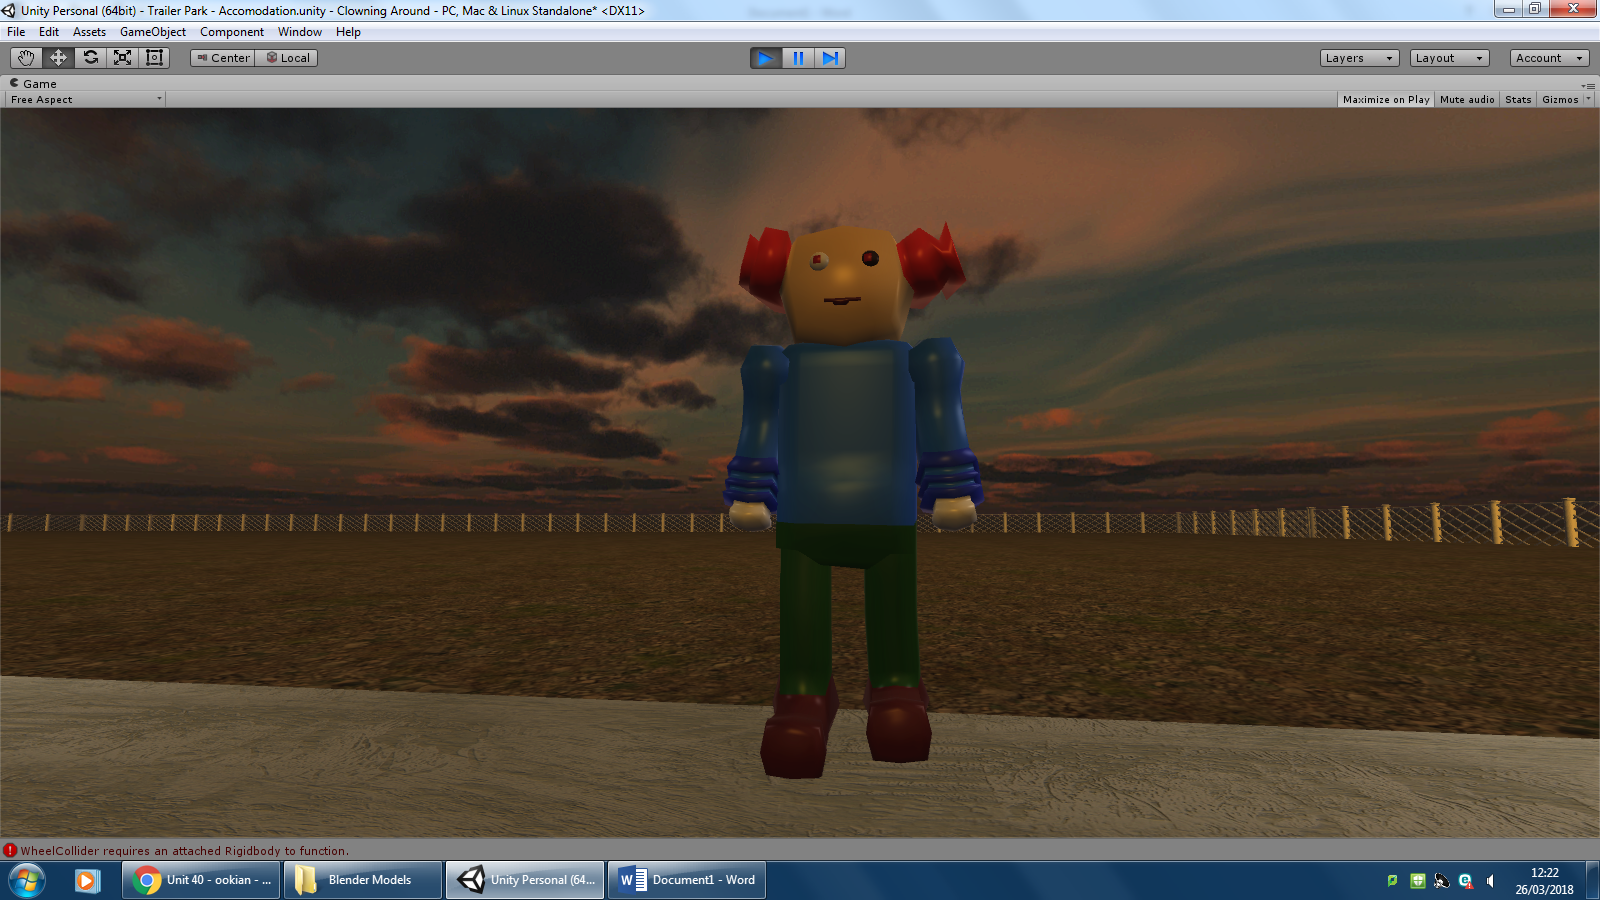


As you can see the concepts and art for my clown have been as close to the era as possible, the 60s. The clowns in this era had very flamboyant clothing and lots of extra features like the ruffle, buttons and hats. Throughout the design process I have tried to stay true to the concepts however there were complications when making the ruffle so I decided not to add it in because when rigging, the entire model messed up. I like my finished clown because its low poly and quite effectively displays the era. However, there are a few things that need changing such as the clothing needs to be more worn and dirty due to the setting in the game, also I need to add tears in the clothes as well because the 'Giggles' is battling mutants/zombies to try get to his car Betsy to escape. Some improvements that could be made include, rough/smudged face painting, more lifelike texturing such as hair. and more depth in body features.
Elephant
Concepts:
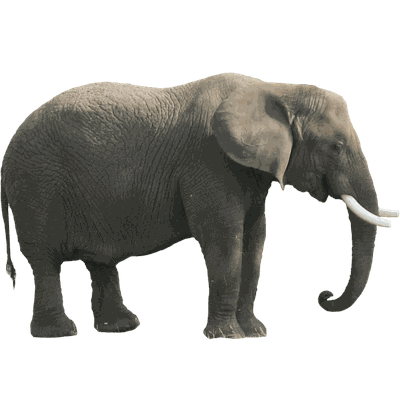
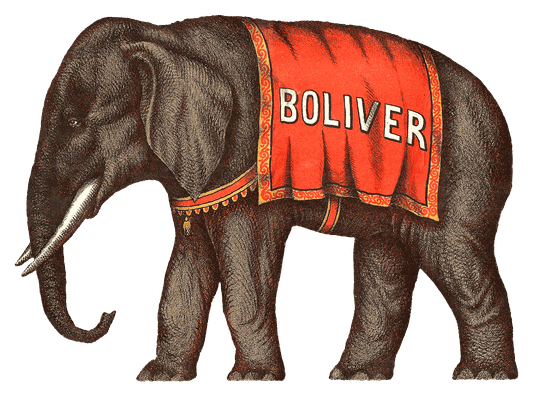


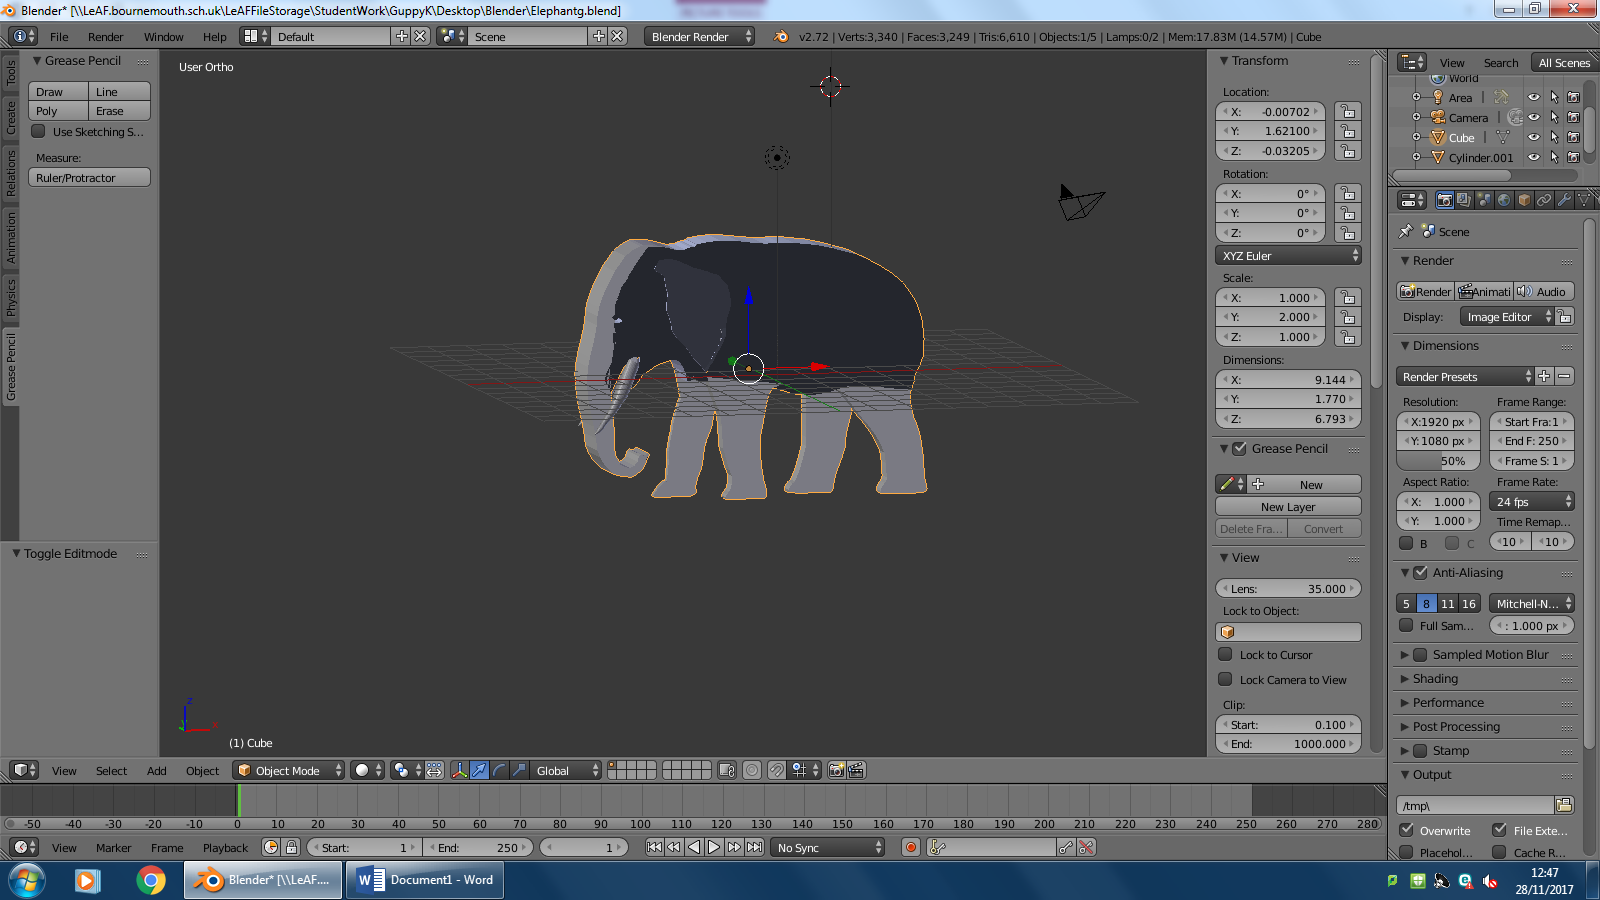


As you can see from my concept art/ideas I have tried to find images of Elephants that would be featured in a circus. Elephants were huge attractions because they were rare animals that would often be found in zoos not doing a lot but in circus' they were trained to perform tricks, lift heavy objects and just leave people in awe. Throughout the design process I used an orthographic view to create the elephant itself and it has come out correctly as I imagined. I like the design of the Elephant because it sticks to the art, however the immersion is ruined as the Elephant does not have the appropriate depth or shape and does not have the clothing covering the parts of it. I also need to add a skin like texture to it and eyes to make the Elephant more realistic.
Big Top
Concepts:
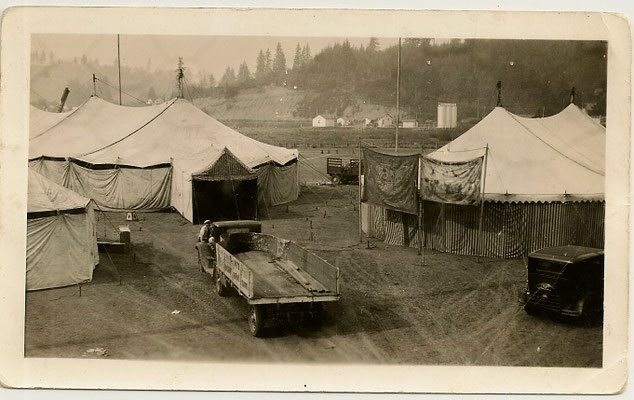

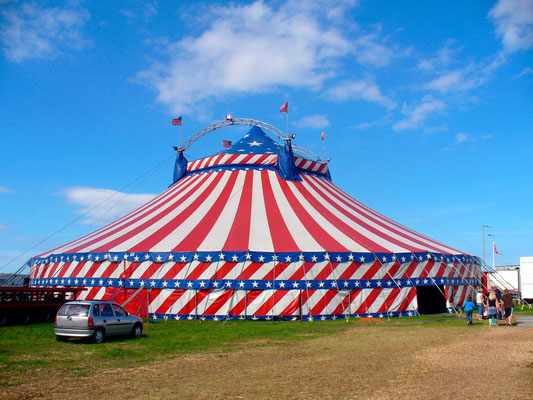
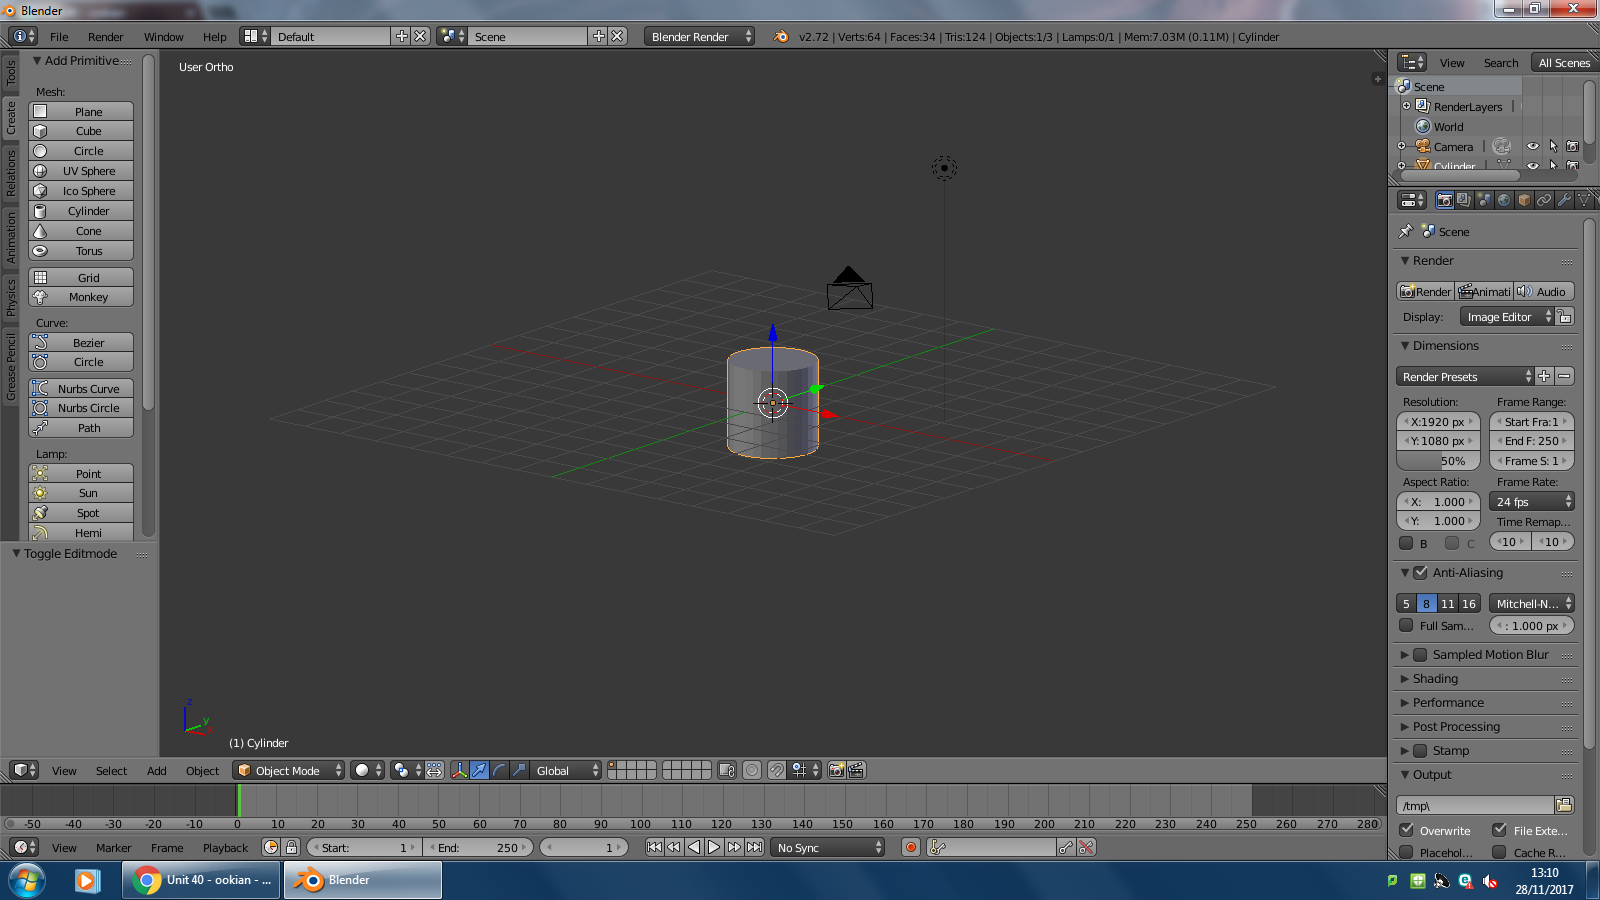


As you can see from the concept ideas, I have taken inspiration from the common Big Tops throughout history as they have barely changed and that has made them memorable. My design started off by using a cylinder as the base shape, from there I scaled the cylinder so it was larger and smaller. I then extruded and scaled the top to give it the pointy look. I removed an area from the cylinder which made the entrance. However, I have missed many parts off of my big top as I felt they were not needed or had no purpose. Overall, I am fairly happy with the design of Big Top and it has maintained the shape of the ideal big top, I have textured it to be the common and picturesque Big Top. However, the Big Top is missing an interior design, and this may ruin the gameplay experience at the current state of the game, I also have missed out the flag/s that would be on top of the Big Top as I feel that a flag is extremely hard to animate and rig up. When adding my model in Unity, it would render everything apart from the interior, this became problematic but I managed to fix it by closing the hole back up, the big top will have multiple features or possible levels however, due to my limited skills it will remain fairly basic.
Enemy (Mutant)
Concepts:
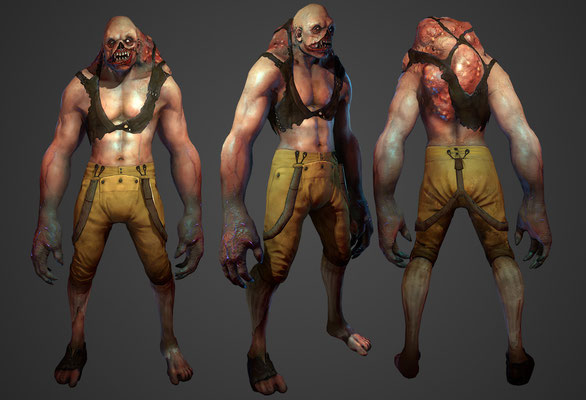
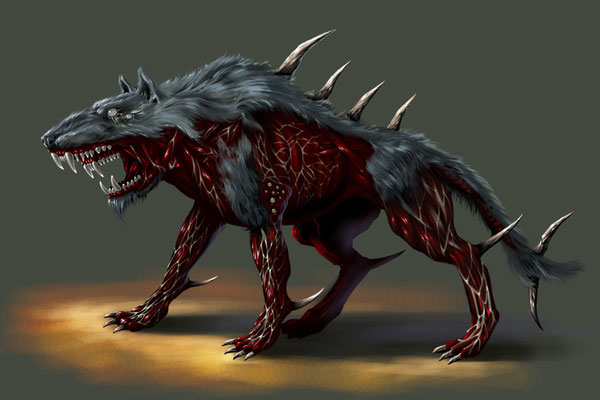
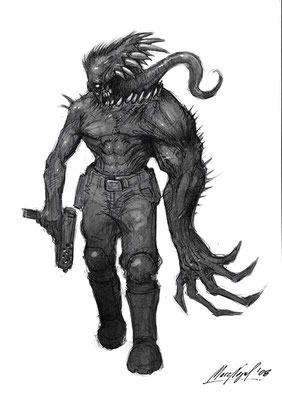
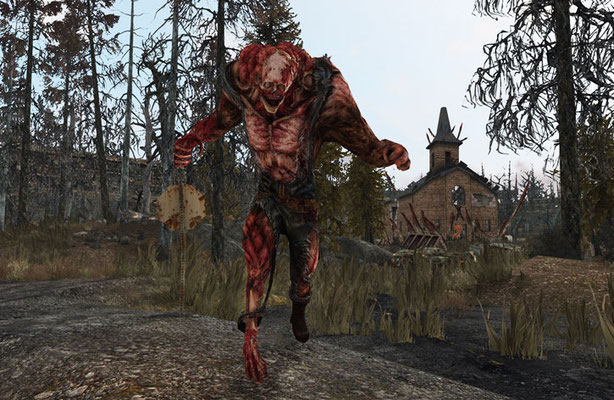


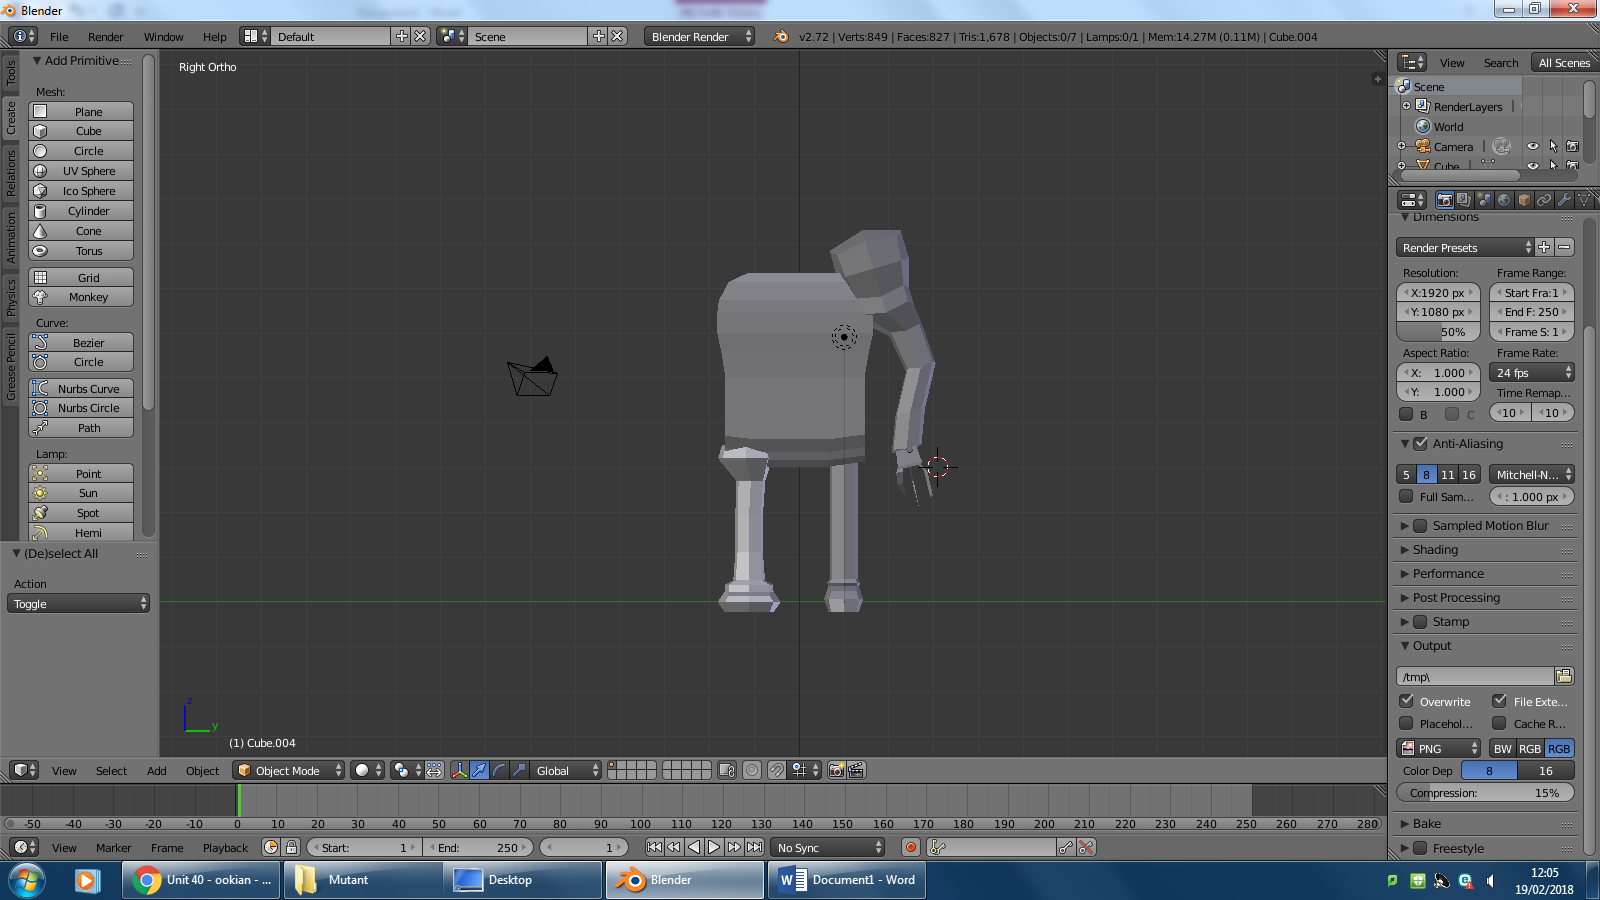
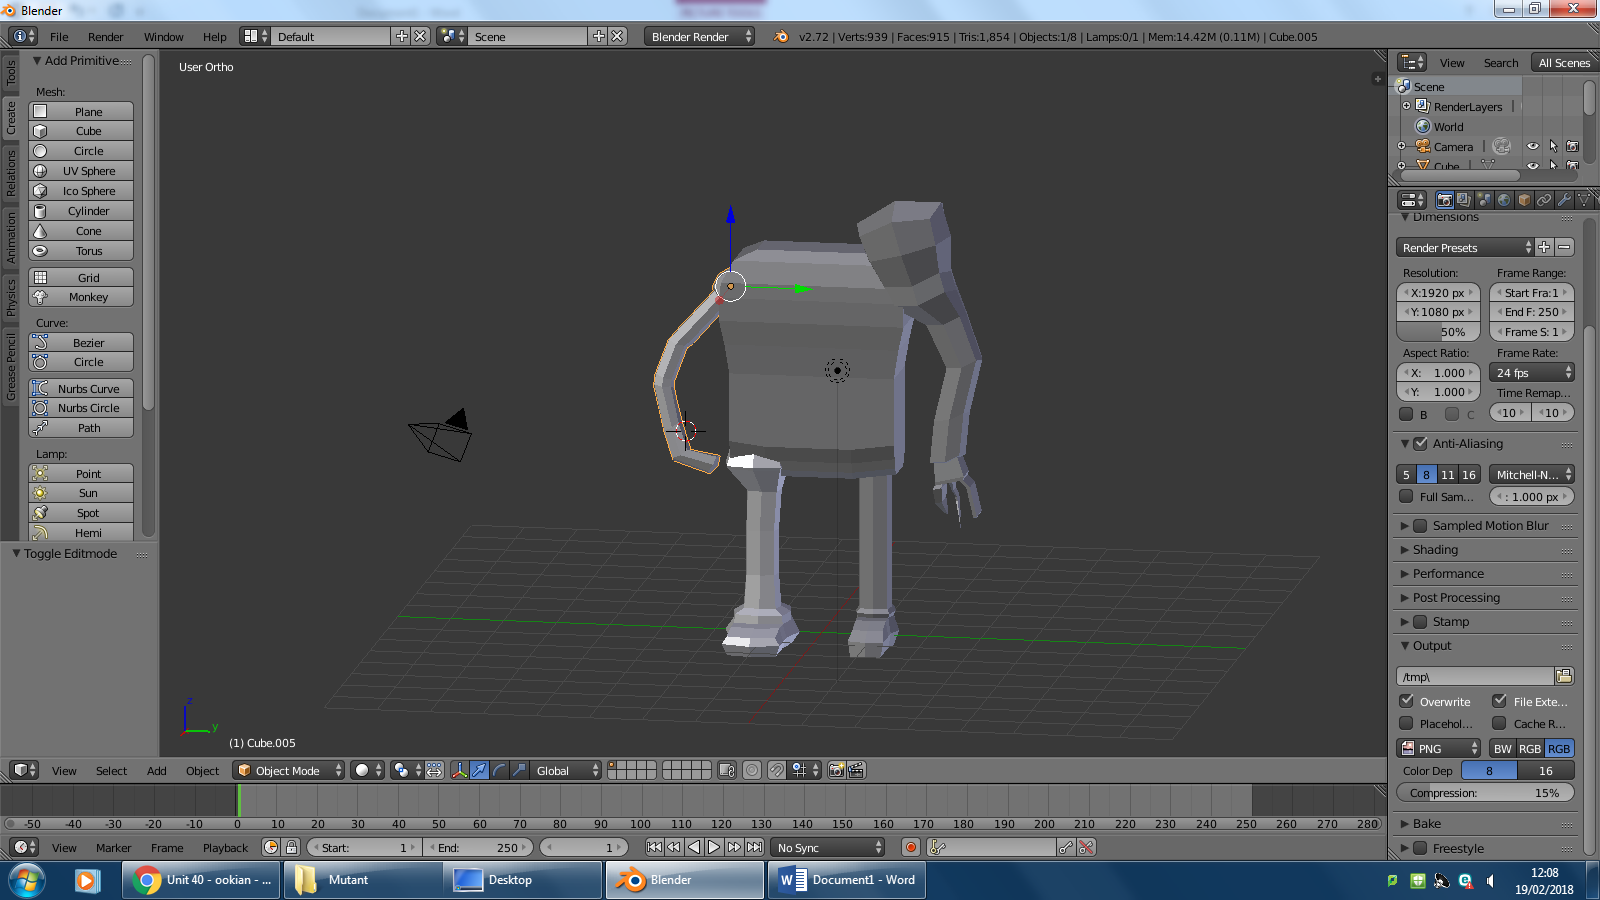

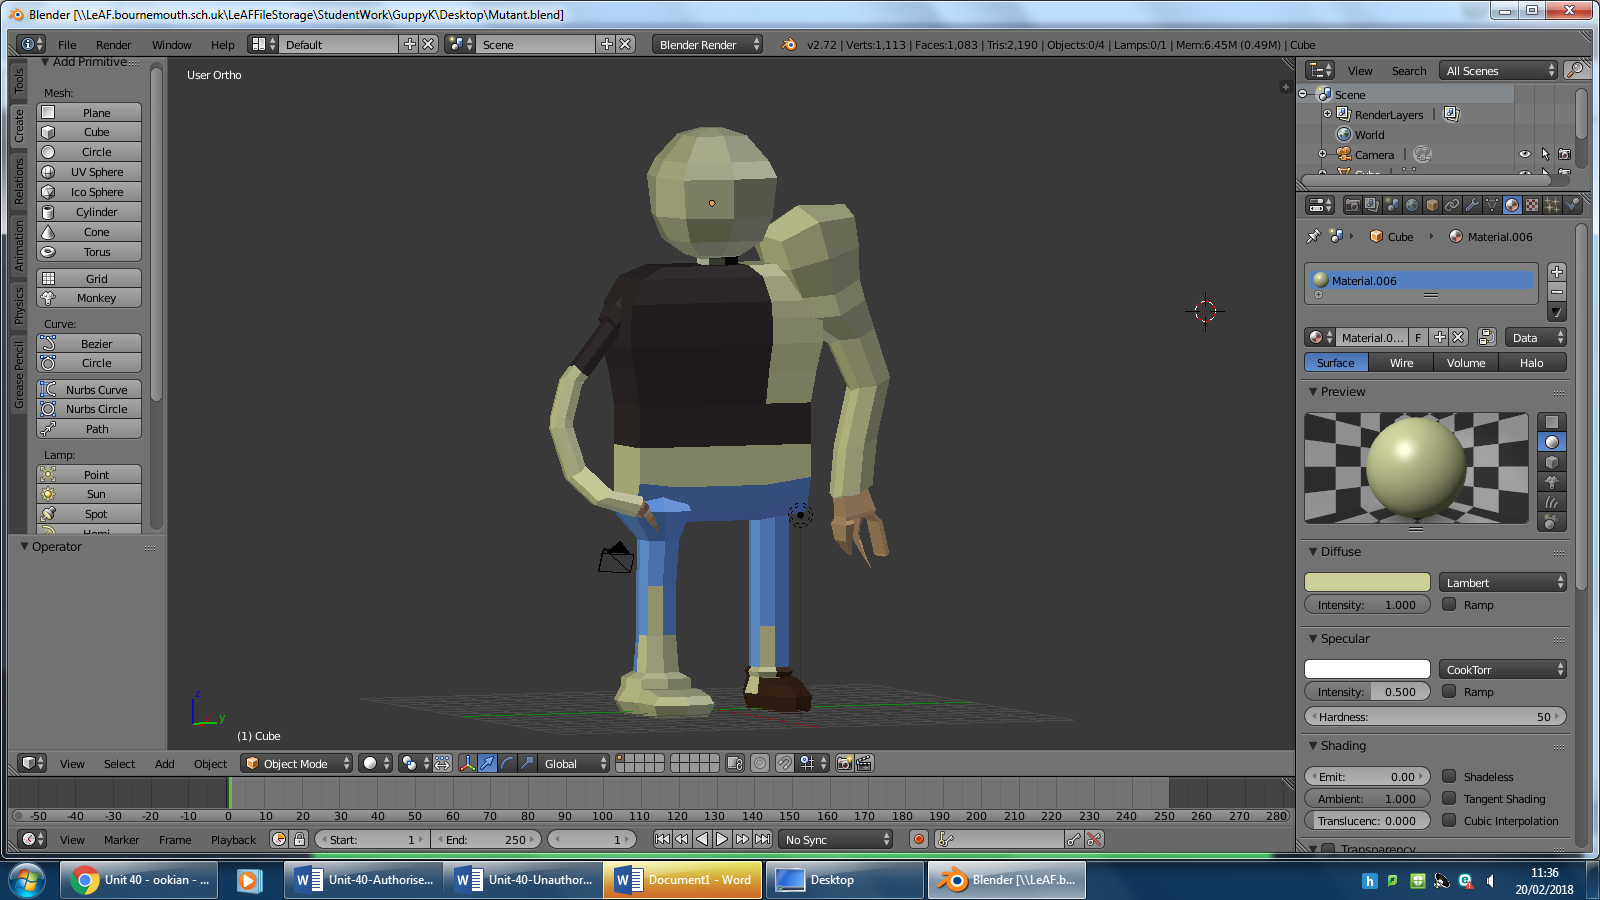


From the images of mutants I have looked at for concept ideas, I have noticed that all of them have abnormalities about them, such as larger limbs than others, different skin colour which shows they have been exposed to radiation and in some of the images you can see that the mutants have all of their skin pulled from their body and only have the muscle showing. My mutant takes a slightly different approach though, I have included the abnormalities, the larger muscles and stretched out limbs but with these abnormalities I have made sure that these enemies will act differently. For example, you can see his right arm/hand is almost claw like, this means the enemy will be able to latch onto the character with his right arm and use his larger arm to claw or grab the player. I have given the mutant some clothing to show that the incident has not long occurred and the mutant has only recently changed from human to mutant. I am generally happy with the design of the mutant because it brings across all the messages that I want to convey, which is that the game happens only a few days/weeks after the meteorite struck. I have not added facial features at the moment but they will be added very soon. I will make parts of the face missing or bulging to further enforce the idea of radiation spreading through the enemies body. I am displeased with the depth of the model, it seems very flat and I would like the model to stand out and seem low poly while looking 3D.
Evaluation Of Own Models
Overall, I am happy with the way my models have came out. I am no expert at blender but I have been able to mostly create my models that I wish to be in Clowning Around. I have been able to rig some of characters so that they could be used in the end product or of use in a trailer for the game. However, there are many things that I wish I could improve, this includes adding fat, aging and making the characters a higher poly. I would also have liked to be able to create a texture map for some of my models so that the characters look more realistic and less cartoony.